How to Design DTF Transfers
Design DTF transfers correctly to achieve sharp colors and clean printing results. Proper artwork setup improves print quality and durability.
Your design process affects every stage of DTF production. Good preparation reduces printing errors and wasted materials.
Many apparel brands use professional DTF transfer designs for faster production and better consistency.
💡 Did you know? High-resolution artwork creates cleaner edges and stronger color details during DTF printing.
DTF Design File Requirements
Understanding file setup helps you design DTF transfers successfully. Correct dimensions improve alignment and print accuracy.
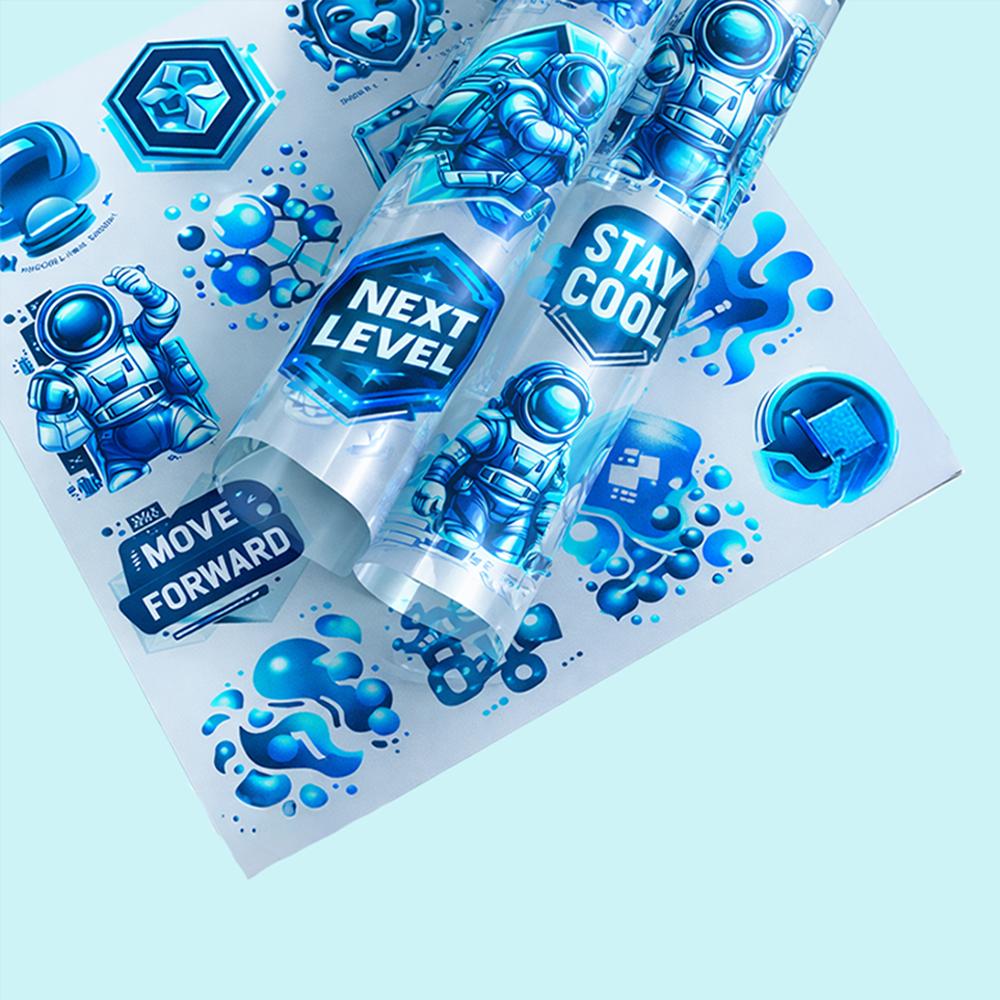
Most DTF printers require transparent PNG files for production. Transparent backgrounds remove unwanted print areas automatically.
The recommended resolution for DTF artwork is 300 DPI minimum. Higher resolutions improve detail and image sharpness.
CMYK color mode usually works best for DTF printing projects. RGB files may produce unexpected color shifts.
Proper spacing between artwork elements prevents transfer overlap during printing. Organized layouts also improve cutting accuracy.
Many designers use a gang sheet builder to arrange multiple graphics efficiently.
Large files should remain properly compressed without reducing image quality. Clean files process faster during production.
Your dtf file format should preserve transparency and crisp edges. Blurry artwork lowers overall print performance.
🔥 Feature
PNG files with transparent backgrounds provide the best results for DTF printing workflows.
Many print shops reject low-resolution artwork before production begins. Preparing files correctly saves valuable time.
Best Software for DTF Design
Professional software makes it easier to design DTF transfers accurately. Different tools support different design styles.
Adobe Photoshop remains popular for raster-based DTF artwork creation. It supports transparent backgrounds and detailed editing.
Adobe Illustrator works well for vector graphics and logo designs. Vector artwork maintains sharp lines at any size.
CorelDRAW also supports advanced apparel artwork production workflows. Many print shops still use it daily.
Canva offers simple tools for beginner designers and small businesses. Basic layouts become easier to create quickly.
Professional designers often combine multiple software programs together. Each tool supports specific design requirements effectively.
Using reliable software improves your dtf design tips workflow significantly. Organized files reduce production mistakes later.
Many businesses create custom DTF transfers using layered artwork and transparent effects.
Learning keyboard shortcuts also improves design speed and efficiency. Faster workflows support higher production capacity.
💡 Did you know? Vector graphics keep logos sharp even when resizing large apparel designs.
Design Tips for Best Results
Simple techniques help you design DTF transfers with professional quality. Clean artwork produces stronger printing results.
Avoid extremely thin lines in detailed graphics whenever possible. Small elements may not transfer correctly.
Bold colors usually print better on garments than faded shades. Strong contrast improves visibility on dark fabrics.
Spacing between text elements also improves readability after printing. Crowded layouts often lose detail during transfer.
Using transparent backgrounds prevents unwanted white edges around artwork. Proper trimming improves final presentation.
Many businesses follow detailed gang sheet tutorial instructions for better layout organization.
Soft gradients should remain smooth and properly blended. Harsh transitions may create visible print banding.
Good dtf design tips include testing artwork before full production. Sample prints reveal hidden issues quickly.
Organized layer management also improves editing and revision workflows. Proper naming prevents production confusion later.
🔥 Feature
High-contrast artwork produces brighter colors and sharper details on finished garments.
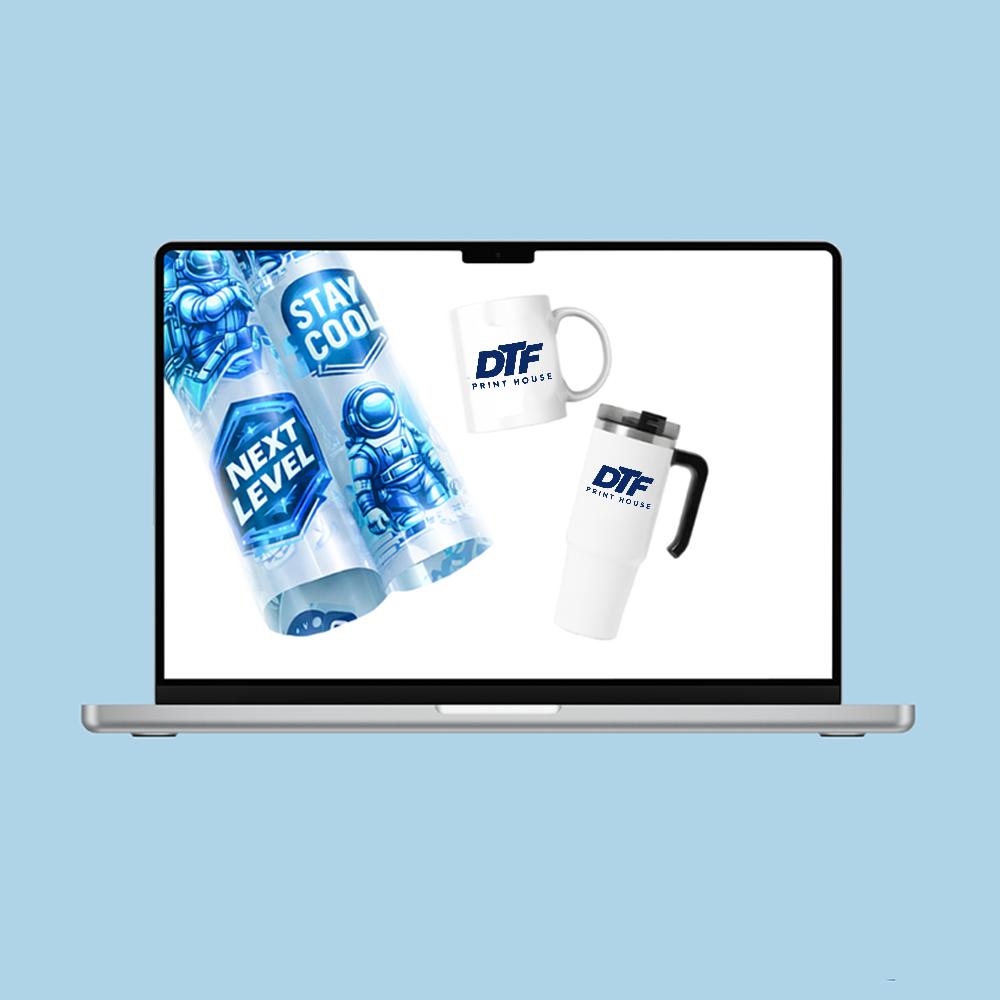
Designers should also create dtf artwork using scalable layouts carefully. Flexible sizing supports multiple apparel products.
Common Design Mistakes
Many beginners design DTF transfers without checking file resolution carefully. Low-quality files create blurry printed results.
Using incorrect color modes also causes major production problems. RGB artwork may print differently than expected.
Designers sometimes forget transparent backgrounds during export preparation. Extra backgrounds waste ink and reduce quality.
Overcrowded layouts can create unreadable text and overlapping graphics. Balanced spacing improves visual clarity significantly.
Very small text often loses detail during transfer application. Larger fonts improve readability on garments.
Poor edge cleanup also affects professional print appearance negatively. Clean outlines create stronger final results.
Ignoring proper dtf file format requirements slows production workflows considerably. Incorrect exports may require redesign work.
Many businesses improve quality after learning advanced dtf design tips. Better preparation reduces printing costs long term.
Testing garments before large production runs also prevents expensive mistakes. Small adjustments improve customer satisfaction greatly.
Consistent file organization keeps large projects easier to manage. Structured workflows support faster fulfillment timelines.
FAQ
What file format for DTF transfers?
PNG files with transparent backgrounds work best for DTF printing projects. High-resolution exports improve final quality.
What resolution for DTF printing?
Most DTF printers require 300 DPI artwork minimum. Higher resolutions create sharper and cleaner printed details.
Best software for DTF design?
Adobe Photoshop and Illustrator remain the most popular DTF design tools. Both support professional artwork preparation.
Learning how to design DTF transfers improves print quality and production efficiency. Strong artwork supports better customer satisfaction.
Professional preparation also reduces wasted materials and printing delays. Clean files help your business scale faster.