How to Make DTF Transfers at Home: A DIY Guide
Creating professional-grade apparel from home has become highly accessible thanks to Direct-to-Film (DTF) technology. This process allows you to produce vibrant, durable transfers that adhere to a wide variety of fabrics.
Essential Equipment for Home Production
To get started with your home-based T-Shirt Business, you need the right tools. While a full industrial setup is costly, hobbyist-level DTF printers are increasingly popular for entrepreneurs.
-
DTF Printer: A modified inkjet printer capable of handling DTF ink.
-
DTF Ink: Specialized water-based pigmented inks.
-
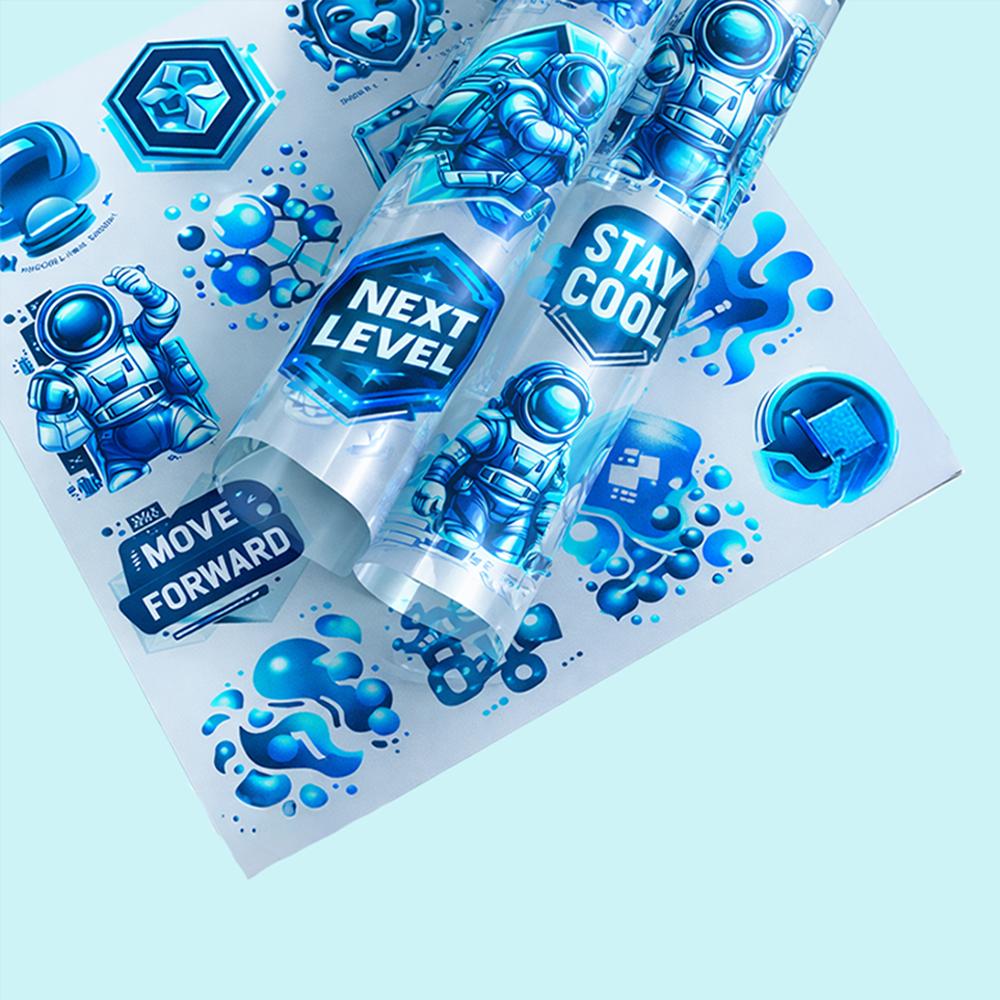
PET Film: The clear transfer substrate.
-
Adhesive Powder: The heat-melt powder that bonds ink to fabric.
-
Curing Oven or Heat Press: To melt the powder and bond it to the film.
The Step-by-Step Creation Process
Building your own transfers requires precision at every stage to ensure quality.
-
Print: Design your artwork and print it onto the PET film in reverse (mirrored).
-
Powder: Apply the adhesive powder evenly across the wet ink.
-
Cure: Heat the film to melt the powder into a slightly glossy, textured state.
-
Press: Apply the transfer to your garment using a heat press for a lasting bond.
Why Consider Professional Alternatives?
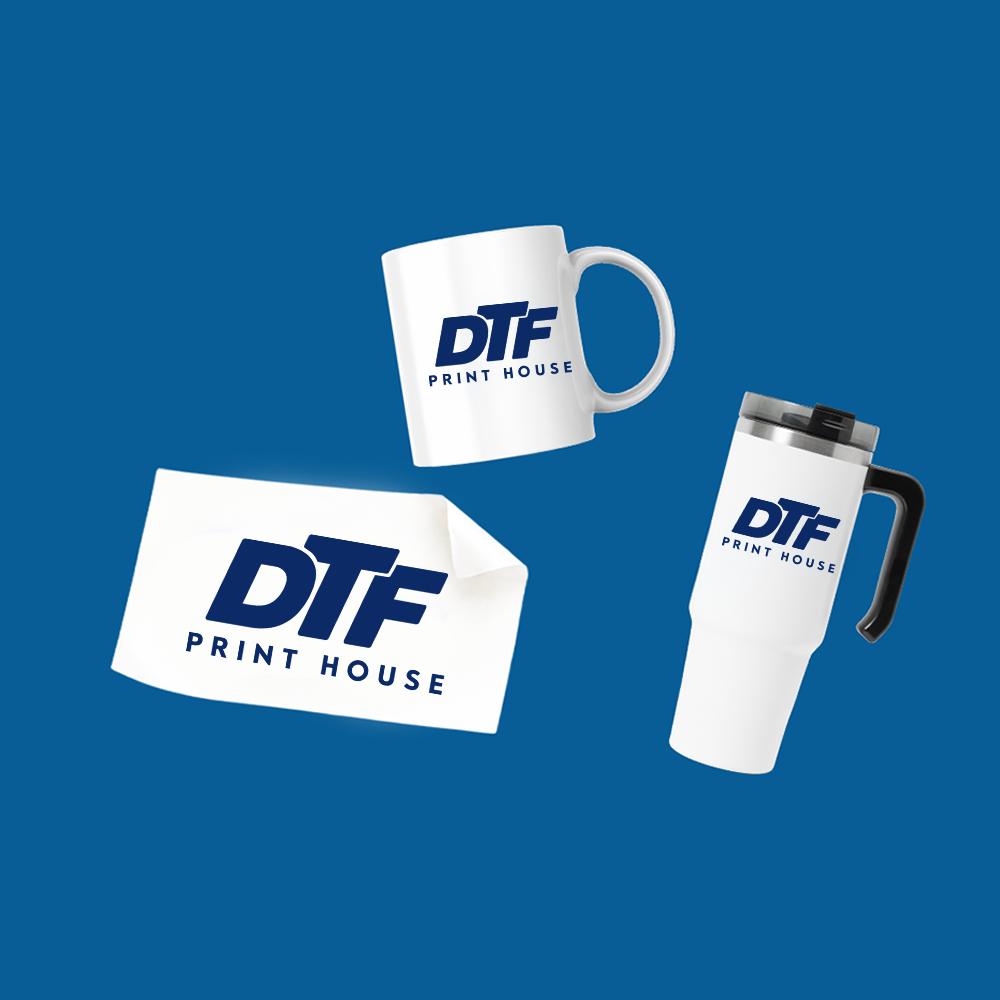
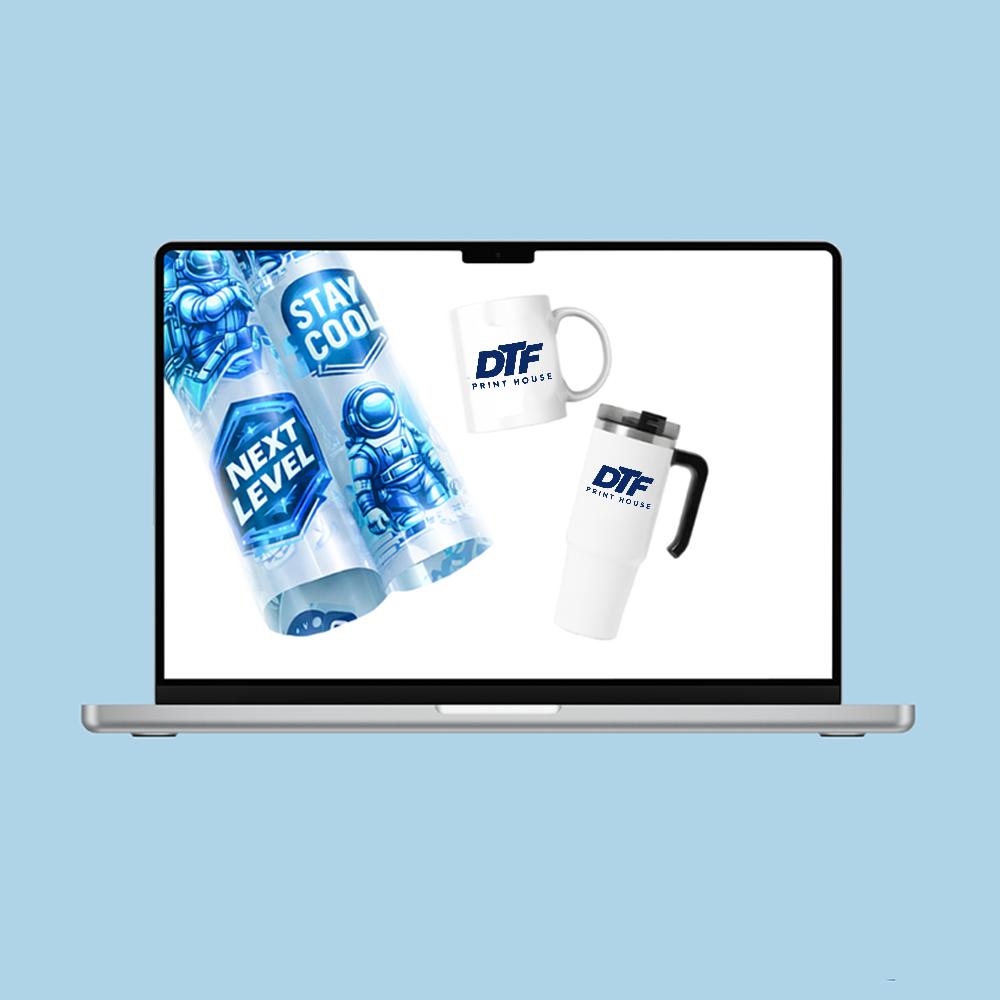
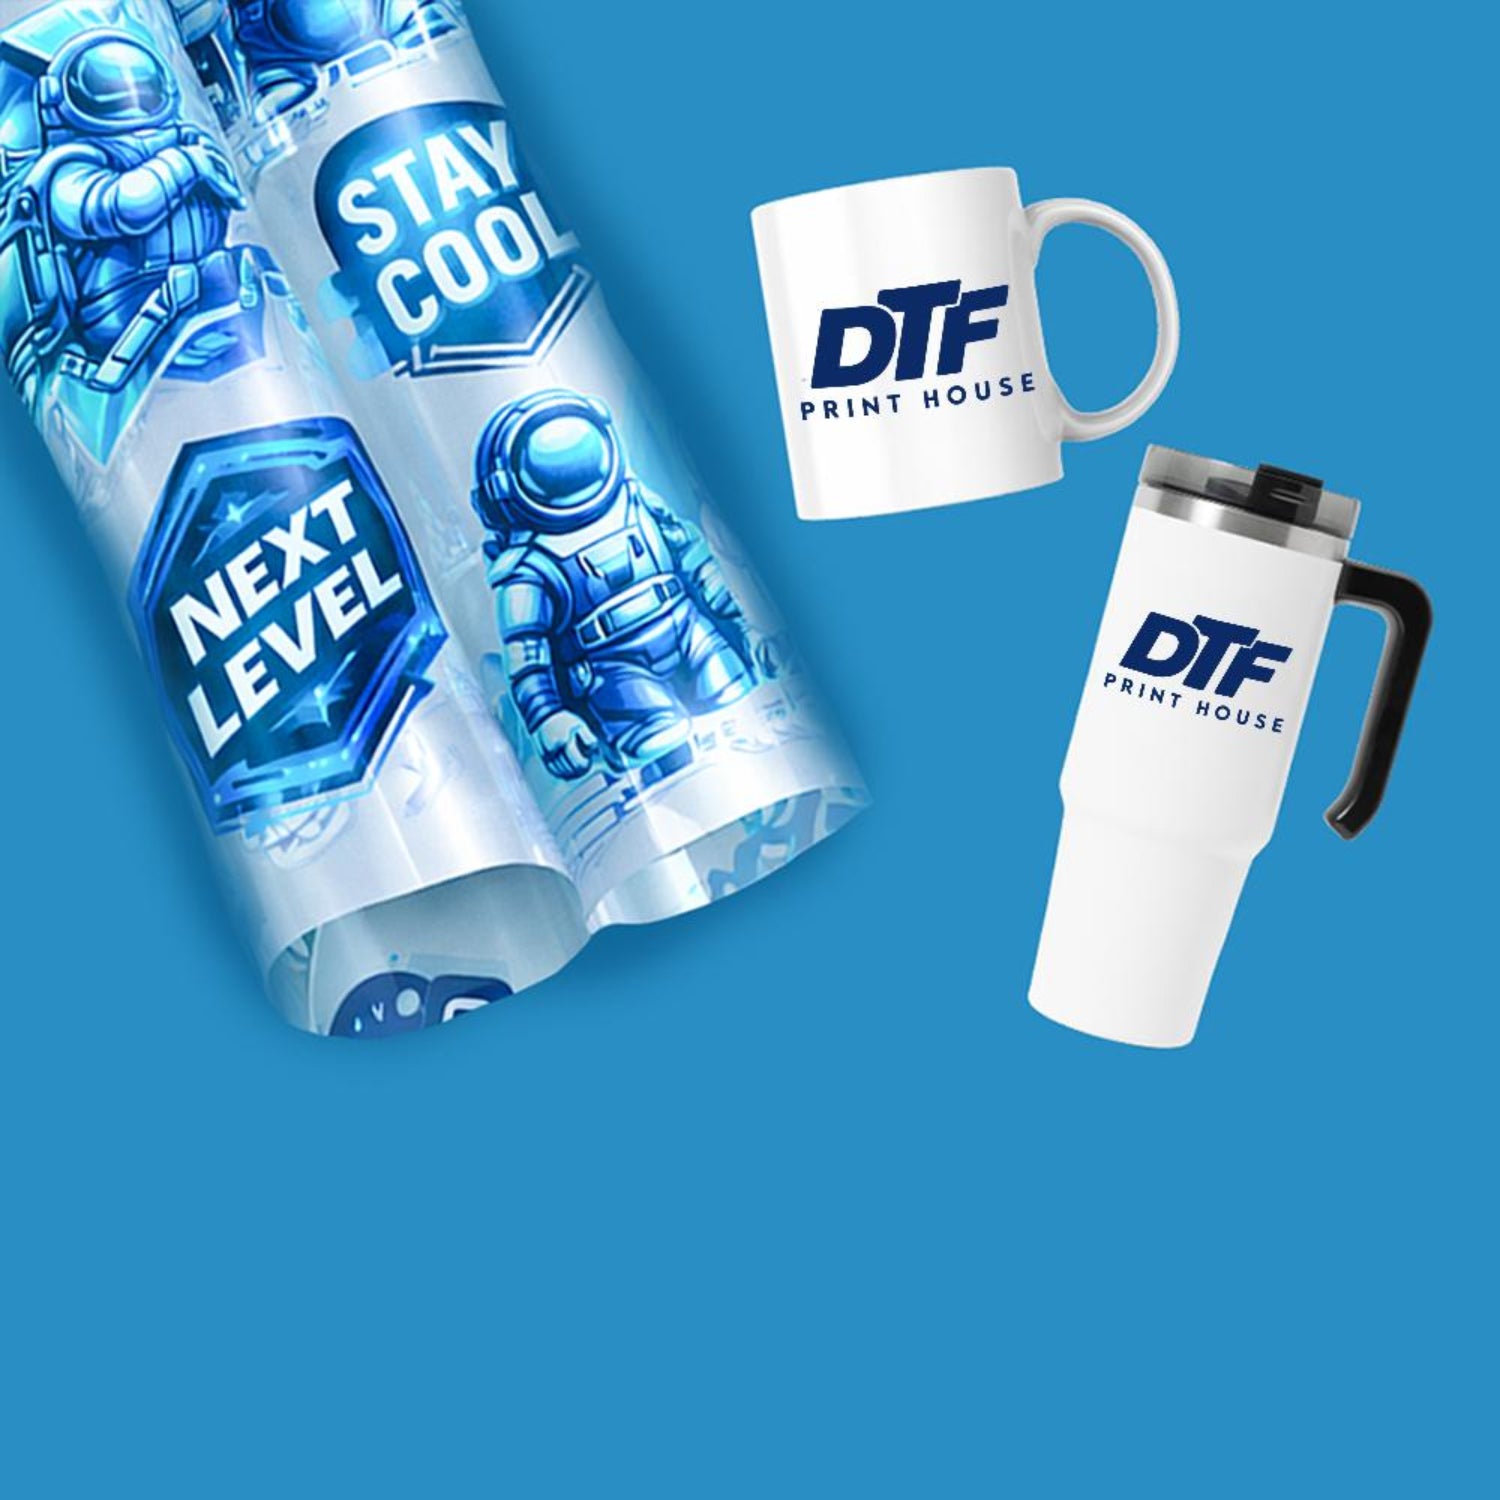
While DIY is rewarding, many successful brands opt for ordering custom DTF transfers to maintain consistent retail quality. Outsourcing allows you to scale your production without the maintenance headaches of home printing equipment.
Optimizing Your Workflow
Whether printing at home or ordering in bulk, efficiency is key. You can Build A Gang Sheet to minimize waste and maximize your profit margins. This technique is essential for anyone serious about growing their brand in 2026.
Conclusion How to Make DTF Transfers at Home
Making transfers at home offers great creative freedom. However, balancing DIY techniques with professional outsourcing is the best way to build a sustainable, scalable business.