Understanding the DTF Transfers at Home Setup
To start, you need a basic understanding of the components involved. DTF DTF Transfers at Home typically requires a converted inkjet printer or a dedicated desktop DTF machine. You also need specialized PET film, DTF inks, and adhesive powder.
Unlike traditional vinyl, DTF allows for full-color designs with intricate details. It eliminates the need for weeding, which saves hours of manual labor. This makes it an ideal solution for complex logos and photographic images.
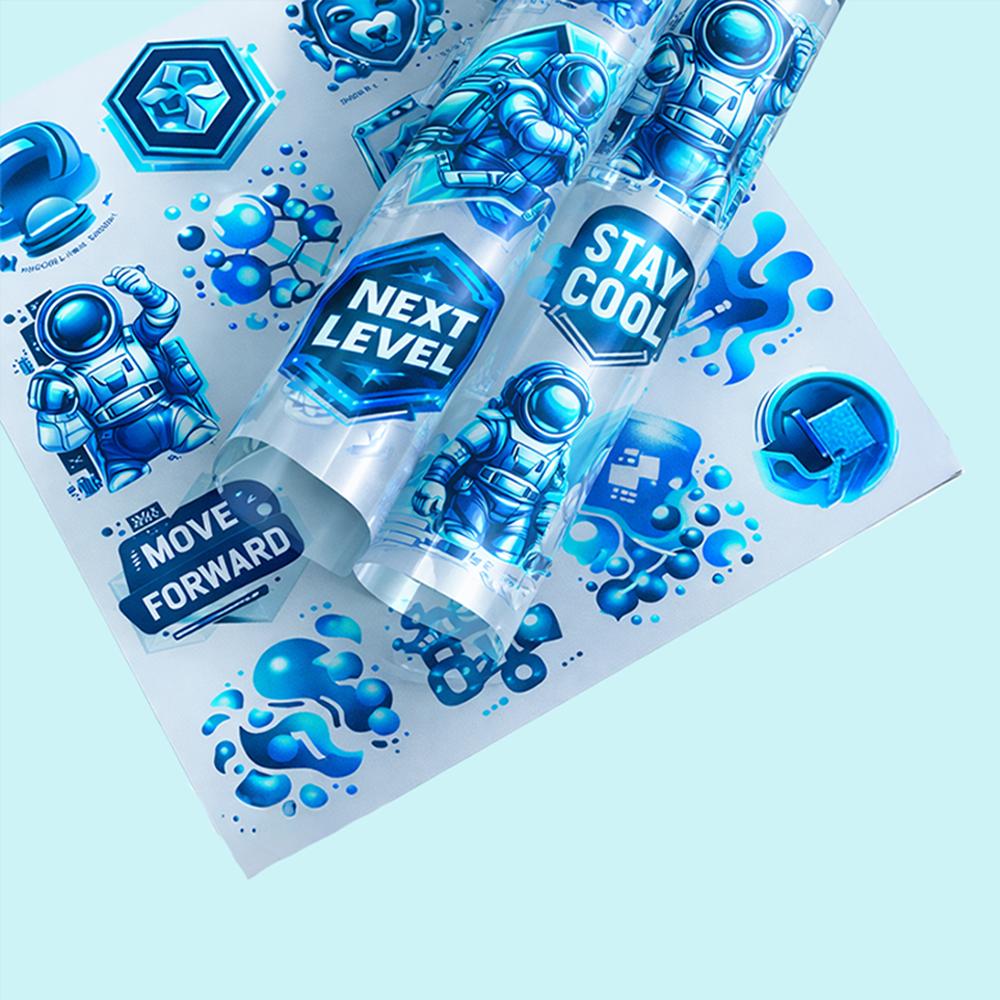
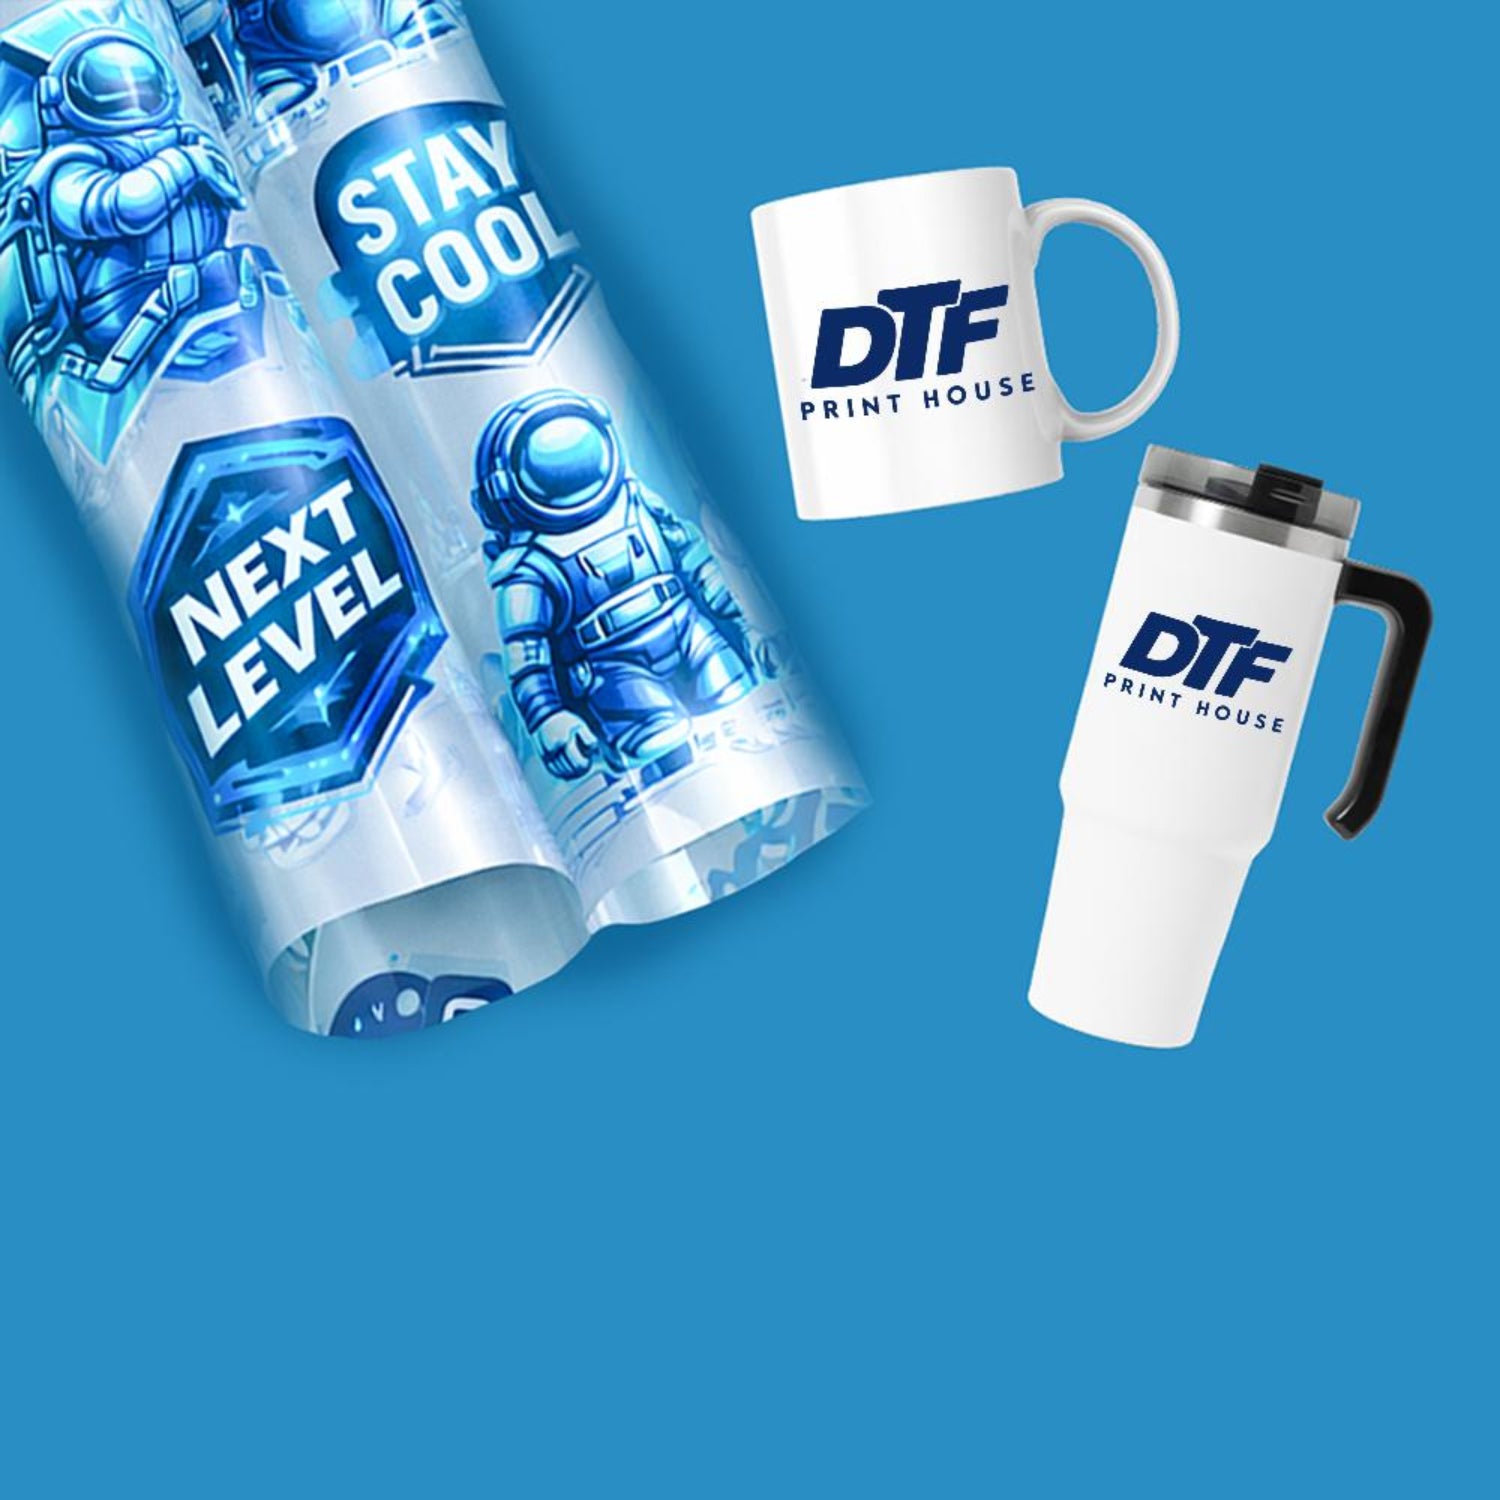
If you want to streamline your branding process for hard surfaces, utilizing a specialized layout tool is the most efficient choice. You can easily Create UV DTF Gang Sheet at DTF Print House to combine multiple logos and stickers onto a single transfer sheet. This method not only reduces material waste but also ensures that all your custom decals are printed with consistent UV-cured durability and a premium gloss finish, perfect for application on glass, metal, or plastic items.
Essential Equipment for Beginners DTF Transfers at Home
The most important tool is the printer. Many beginners start by converting an Epson EcoTank printer to use DTF inks. However, purpose-built desktop DTF printers are becoming more affordable and offer better reliability.
You will also need a high-quality heat press. A standard household iron is usually not consistent enough for the curing process. A heat press ensures even pressure and precise temperature control, which are vital for a successful transfer.
Choosing the Right Consumables DTF Transfers at Home
Quality starts with your ink and film. Use only specialized DTF pigments to prevent clogging in your printer. These inks are water-based and designed to remain flexible once they are applied to the fabric.
The "A" film (PET film) acts as the carrier for your design. It has a special coating that holds the wet ink and releases it during the heat press stage. Pairing this with a high-grade TPU adhesive powder ensures a strong bond with the garment.
Preparing Your Digital Artwork DTF Transfers at Home
Design preparation is a crucial step in the home printing process. Use graphic design software like Photoshop, Illustrator, or Canva to create your files. Ensure your designs have a high resolution, ideally at least 300 DPI.
One unique requirement for DTF is the white ink layer. You must print your colors first, followed by a solid white backing. This white layer allows the colors to pop on dark fabrics and provides a base for the adhesive powder.
The Printing Phase DTF Transfers at Home
Before printing, make sure your film is loaded correctly. Most films have a matte side and a glossy side; you should always print on the matte, coated side. Run a nozzle check to ensure all colors are flowing perfectly.
Send your design to the printer using a RIP (Raster Image Processor) software. This software tells the printer exactly how much white ink to lay down. It is the secret to getting vibrant, professional-looking transfers at home.
Applying the Adhesive Powder DTF Transfers at Home
Once the printer finishes, your ink will still be wet. You must apply the adhesive powder immediately. Carefully pour the powder over the wet design until it is completely covered.
Shake off the excess powder gently. You can reuse the leftover powder for your next project. Ensure there is no stray powder on the clear parts of the film, as this can leave white spots on your garment.
Curing the Film DTF Transfers at Home
Curing is the process of melting the powder into a solid, rubbery layer. You can do this by hovering your heat press a few centimeters above the film. Set the temperature to around 150°C (302°F) for about two minutes.
Alternatively, some home users use a dedicated curing oven for more consistent results. You will know the film is cured when the powder looks like melted orange peel. The design should no longer look grainy or powdery.
The Heat Press Application
Now you are ready to transfer the design to your shirt. Pre-press your garment for 5 seconds to remove moisture and wrinkles. This step is often overlooked but is essential for a long-lasting bond.
Place the film on the fabric with the design facing down. Press it with medium pressure for 15 to 20 seconds at 150°C. Make sure the garment is flat and the seams do not interfere with the pressure.
Peeling: Hot vs. Cold
Different DTF films have different peeling requirements. "Cold peel" films are the most common for home use. You must let the garment cool down completely before removing the film.
Peeling the film while it is still hot can cause the ink to lift. Once cool, peel the film in one smooth, steady motion. If the design stays on the fabric, the transfer was successful.
Finishing Press for Durability
To ensure maximum wash fastness, perform a "finishing press." Place a piece of parchment paper or a Teflon sheet over the design. Press it again for 5 to 10 seconds.
This final step pushes the ink deeper into the fibers of the fabric. It smooths out the texture and gives the print a professional finish. Your home-made DTF shirt is now ready to wear.
Maintenance of Your Home Printer
Home DTF printers require regular maintenance to prevent ink clogs. You should perform a head cleaning or print a small test page every day. This keeps the white ink from settling and drying in the lines.
If you plan to leave the printer idle for more than a few days, use cleaning solution. Proper care will extend the life of your printhead and save you money on repairs. A well-maintained printer produces the best transfers.
Conclusion
Making DTF transfers at home is a rewarding way to create custom apparel. It offers a level of detail and versatility that was once reserved for large factories. By following these steps, you can build a successful home-based printing setup.
Start with small projects and learn how your specific equipment reacts to different fabrics. With practice, your home-made transfers will rival those made by professional shops. Dive into the world of DTF today and unleash your creativity.
You can follow the social media platforms of DTF Print House to stay updated on current campaigns, new products, and application videos. You can access the brand's active social media accounts through the following links: