How to Print DTF Transfers: A Professional Guide
How to Print DTF Transfers Direct-to-Film (DTF) printing has changed how we create custom apparel. It is a modern process that offers high detail and vibrant colors.
DTF technology involves printing designs onto a special film, applying adhesive powder, and heat-pressing them onto fabric. Learn more about the history of digital printing to understand the industry context.
Step 1: Preparing Your Design
High-quality prints start with great files. Ensure your artwork is in a high-resolution format, preferably 300 DPI, with a transparent background.
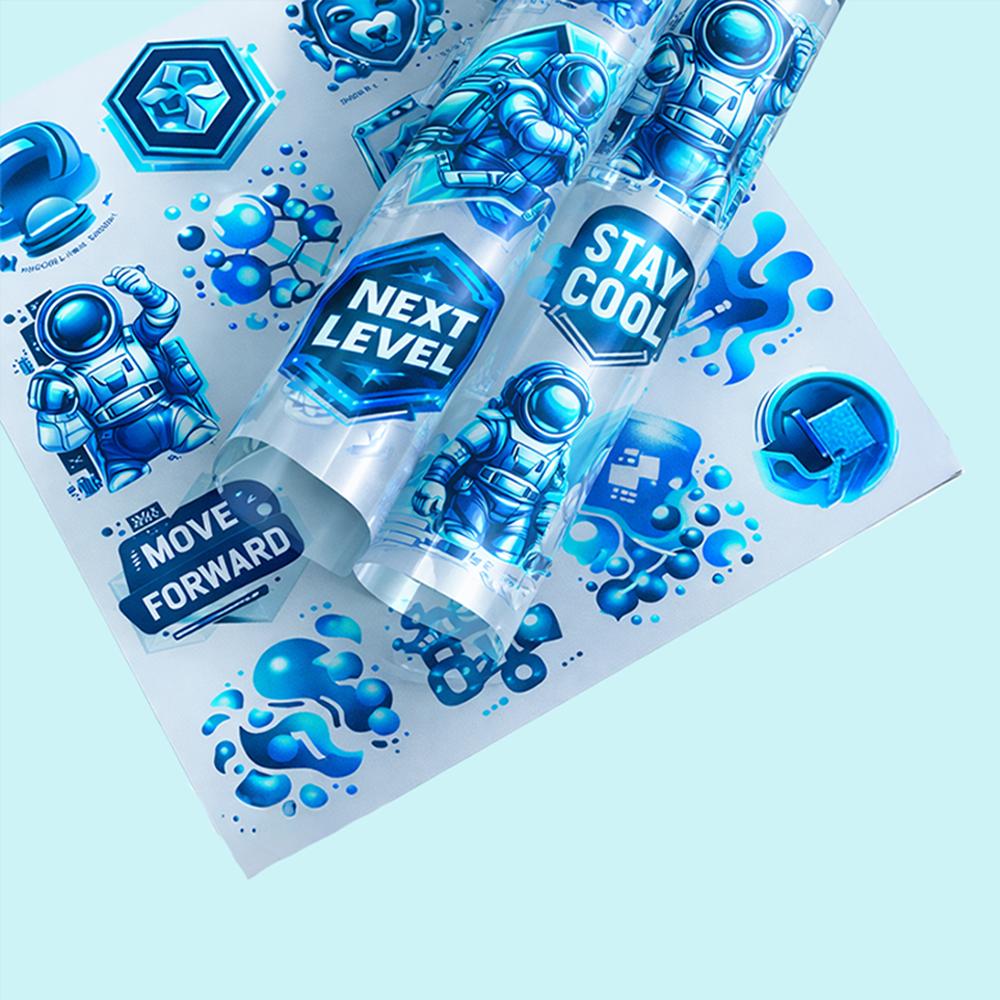
Step 2: Printing and Powdering
Print your design onto the transfer film using a specialized DTF printer. Immediately apply the adhesive powder while the ink is still wet.
Shake off the excess powder carefully. This adhesive acts as the bridge between your ink and the garment fiber.
Step 3: Curing the Transfer
Cure the powder by passing it through an oven or a heat press. This melts the adhesive into the ink, creating a durable bond.
Step 4: Pressing onto Fabric
Place your transfer on the garment. Use a heat press to apply firm pressure for the recommended time and temperature.
Let it cool completely before peeling the film. This ensures the design stays perfectly attached to the fabric.
For more tips and professional supplies, visit DTF PrintHouse to support your custom printing business.