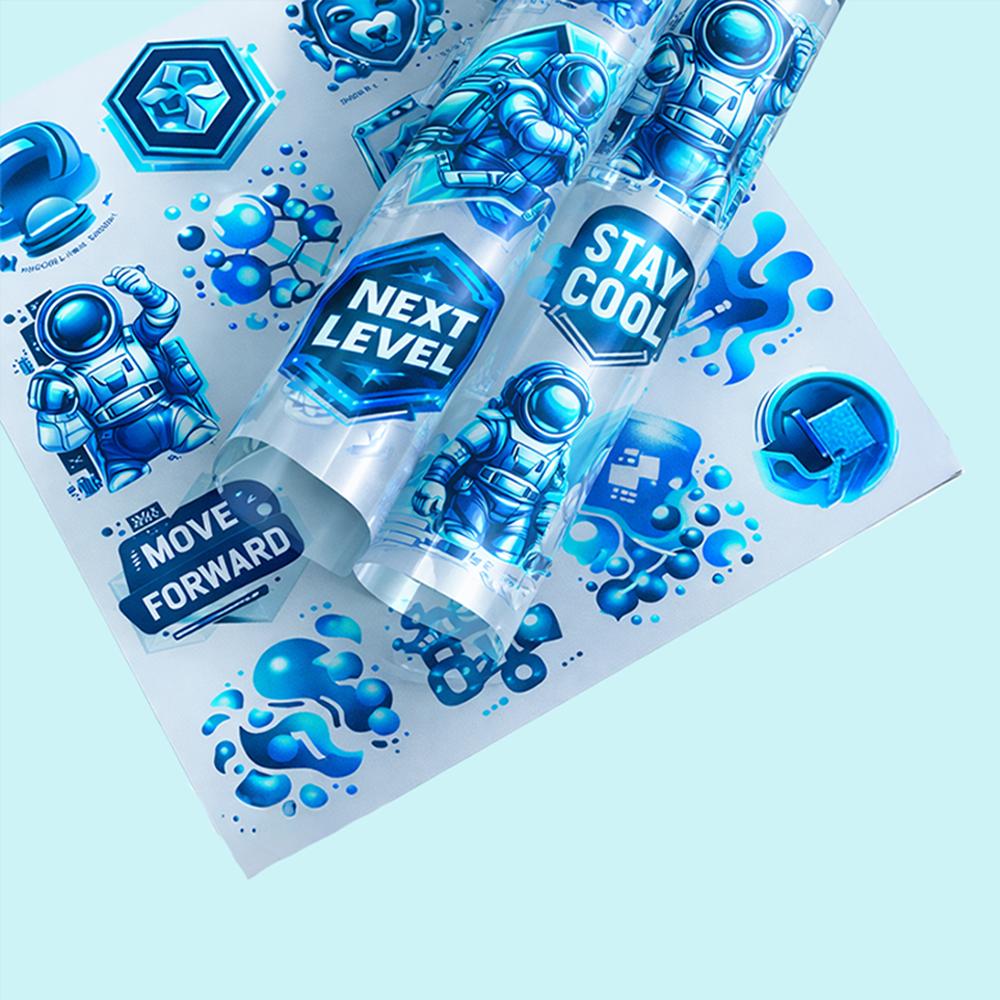
The Ultimate Guide to Applying DTF Transfers
Mastering the art of applying DTF transfers is essential for any professional garment decorator or DIY enthusiast looking to achieve high-quality, long-lasting apparel. Direct-to-Film technology has simplified the customization process, yet the secret to a flawless finish lies in the precise execution of three critical variables: heat, pressure, and the specific DTF peel technique. By understanding these elements, you can ensure your custom DTF transfers bond perfectly with the fabric every time.
DTF Transfer Temperature Settings
Finding the correct DTF temperature settings is the foundation of a successful press. Most high-quality DTF transfers require a heat range between 140°C and 160°C (approx. 285°F to 320°F). However, the specific temperature can vary based on the garment material. For instance, when applying DTF transfers to 100% cotton, a higher range is often preferred, while delicate synthetic blends require lower heat to avoid scorching or "heat press marks."
Pressure Settings for DTF
Consistent DTFpressure is what drives the adhesive powder into the fibers of the textile. When using a heat press guide, you should aim for "medium to firm" pressure—typically between 40 and 60 PSI. If the pressure is too light, the design may fail to adhere properly or peel off after the first wash. Conversely, excessive pressure can lead to garment deformation or a flattened, stiff texture in the printed area.
Hot Peel vs Cold Peel DTF
The DTF peel method is determined by the type of film coating used during production. Hot peel films allow you to remove the PET carrier immediately (within 2-5 seconds) after the press opens, which is excellent for high-volume production. In contrast, cold peel films require the garment to reach room temperature before removal. Understanding whether your film is hot or cold is crucial; peeling a cold-peel film while hot will cause the design to lift and ruin the garment.
Ready to Start Your Project?
Get the best results by choosing the right garment. Explore the best shirts for DTF today!
Step-by-Step Application Guide
Success in applying DTF transfers comes down to a repeatable workflow. Follow this heat press guide for professional results:
-
Pre-heat: Press your garment for 5 seconds to remove moisture and wrinkles.
-
Alignment: Position your custom DTF transfers face down on the garment.
-
The First Press: Apply heat based on your specific DTF temperature settings for 12-15 seconds with firm DTF pressure.
-
The Peel: Execute the DTF peel (hot or cold) as specified by the film manufacturer.
-
Finishing Press: Cover the design with a Teflon or parchment sheet and press for another 5 seconds to "set" the print and improve the feel.
Troubleshooting Application Issues
Common issues when applying DTF transfers usually stem from incorrect DTF temperature settings or uneven DTF pressure. If you notice the edges lifting, it is a sign that the adhesive did not fully melt or the pressure was insufficient. Always ensure your heat press platen is heating evenly across the surface. To maintain your finished products, always refer to professional DTF care instructions to maximize the life of the print.
FAQ
What temperature for DTF transfers?
The standard range is 140°C to 160°C (285°F to 320°F) for 12-15 seconds.
Hot peel or cold peel for DTF?
This depends on your film. Check your supplier’s specs, but cold peel is generally safer for beginners to avoid lifting.
How much pressure for DTF transfers?
Medium to firm pressure (approx. 40-60 PSI) is required to ensure a deep bond with the fabric.
Why is my DTF transfer not sticking?
The most common reasons are low DTF pressure, incorrect DTF temperature settings, or moisture trapped in the garment fibers.