How to Prepare a DTF Gang Sheet in Photoshop
Building a custom gang sheet photoshop document is the absolute best way to maximize your printing efficiency from home.
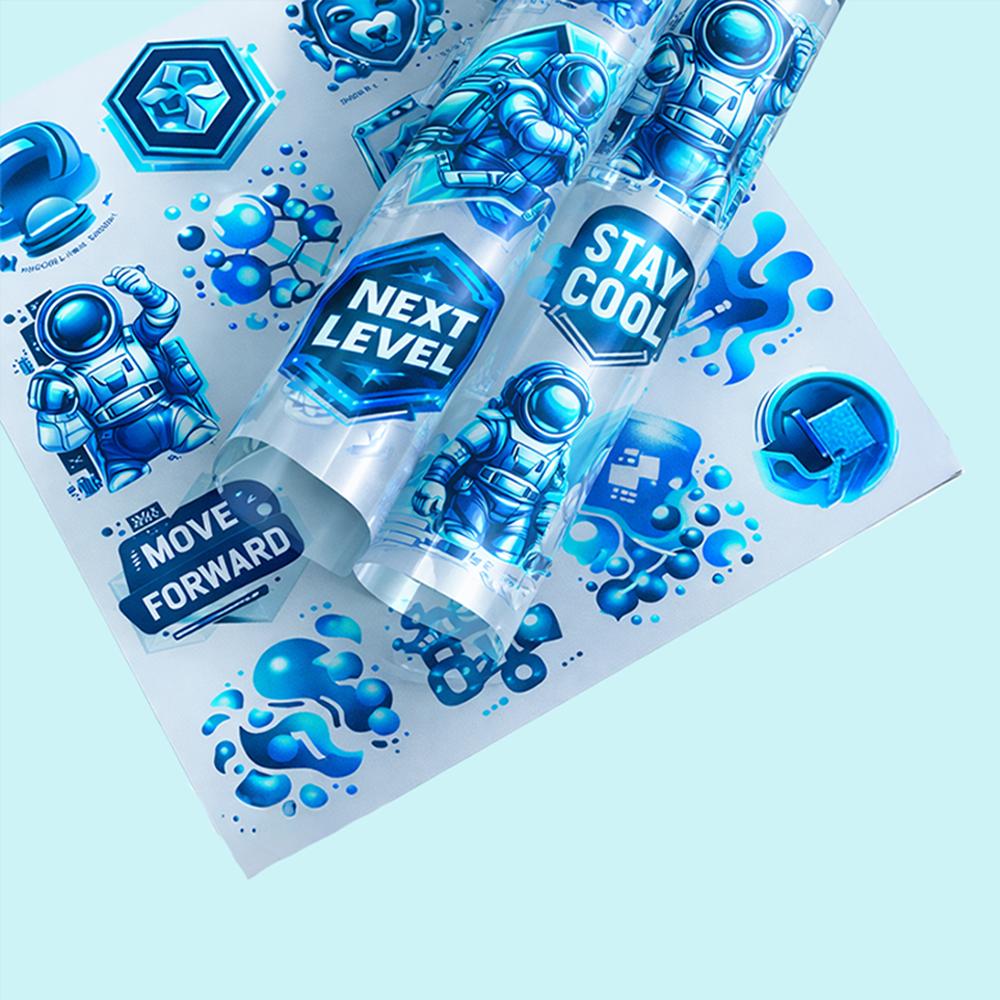
This method allows you to group multiple graphical elements onto a single long transfer film sheet seamlessly.
Using a proper setup eliminates dead background areas and reduces your overall material costs quite significantly.
Modern clothing brands rely heavily on these optimized workflows to boost their daily net profit margins.
Our complete gang sheet creation tutorial explains how to manage your design assets like an expert.
Let us unlock the technical workflow secrets required to prepare flawless files inside Adobe Photoshop today.
Setting Up Photoshop for Gang Sheets
Creating your dtf gang sheet photoshop canvas requires very specific document criteria to ensure excellent industrial print resolution.
Open your software suite and navigate directly to the top file menu to build an empty canvas.
Set your primary width measurement to twenty-two inches to match standard commercial custom print machinery requirements.
You can adjust your vertical canvas length anywhere from twenty-four inches up to over sixty inches long.
It is vital to configure your main file resolution to exactly 300 pixels per inch initially.
Lower resolution choices will yield blurry, pixelated edges that look unprofessional on your finished retail apparel.
Select the transparent background option rather than a default solid white color fill before hitting create.
This allows the specialized machine software to recognize your custom graphic shapes without generating weird outlines.
💡 Did you know? Commercial printing plotters use specialized software that reads transparent data areas to apply white backing powder accurately.
Step-by-Step Photoshop Tutorial
Following this precise photoshop tutorial dtf workflow helps you avoid common registration errors during massive production runs.
Import your source illustrations by selecting the place embedded option from your file management drop-down menu.
This action embeds your source vector data safely inside the master working document file without compression.
Ensure every logo background layer is completely removed before moving individual items around your blank canvas.
Now, you can comfortably create gang sheet photoshop layouts by dragging elements to fill your empty spots.
Maintain a strict quarter-inch safety gap between different graphical elements to make manual cutting clean and easy.
If items are squeezed too close together, you might accidentally damage adjacent prints during product separation.
Fill large open gaps with smaller companion designs like internal custom neck labels or sleeve logos.
You can rotate images ninety degrees to cram extra elements into small corners and save money.
Exporting for Print
Saving your master graphics correctly is just as vital as arranging the actual image files together.
Go to your export menu and select the high-quality copy preservation features to maintain resolution.
The standard output choice for modern commercial garment decorators is a clean flattened PNG format file.
Verify that your file export confirmation panel has the primary transparency checkbox checked before saving anything.
Name your finished asset file clearly by incorporating your brand name and exact sheet canvas measurements.
This simple habit allows our processing team to fulfill your incoming orders with incredible speed and accuracy.
🔥 Feature
Our proprietary software processes 300 DPI transparent PNG exports flawlessly to preserve magnificent color contrast on fabrics.
Tips for Best Results
Always inspect the absolute edges of your design files at a full hundred percent zoom factor.
Stray glowing pixels or soft semi-transparent drop shadows will cause automated printer powder errors on garments.
We recommend building a temporary solid black background sheet layer underneath your working artwork to check clarity.
This diagnostic layer uncovers hidden gray artifacts that should be erased before submitting your print job.
Remember to delete that diagnostic black layer fully before exporting your ultimate transparent print file asset.
If you prefer an automated setup method, consider utilizing our interactive DTF gang sheet builder online tool.
This digital builder assists you in loading graphics without needing any desktop graphic editing software programs.
Otherwise, simply upload your completed canvas directly to create your gang sheet orders on our page.
FAQ
How to make gang sheet in Photoshop?
Build a 22-inch canvas at 300 DPI with a transparent background. Arrange your designs keeping small gaps.
What Photoshop settings for DTF?
Always select a high-resolution canvas profile of 300 Pixels/Inch, CMYK color settings, and absolute background transparency.
How to export gang sheet for printing?
Export your layout as a premium transparent PNG file. Ensure all compression settings maintain your source graphics perfectly.