Step-by-Step Guide: How to Apply DTF Transfers Like a Pro
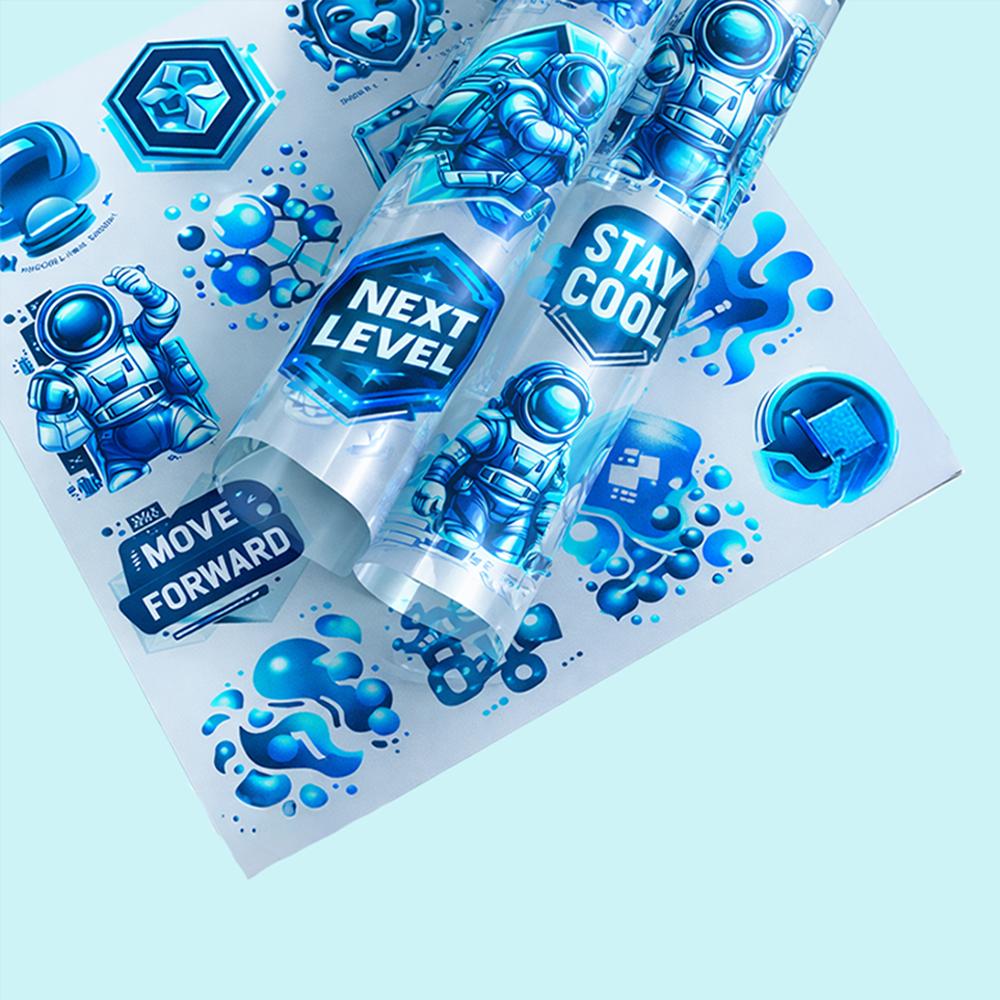
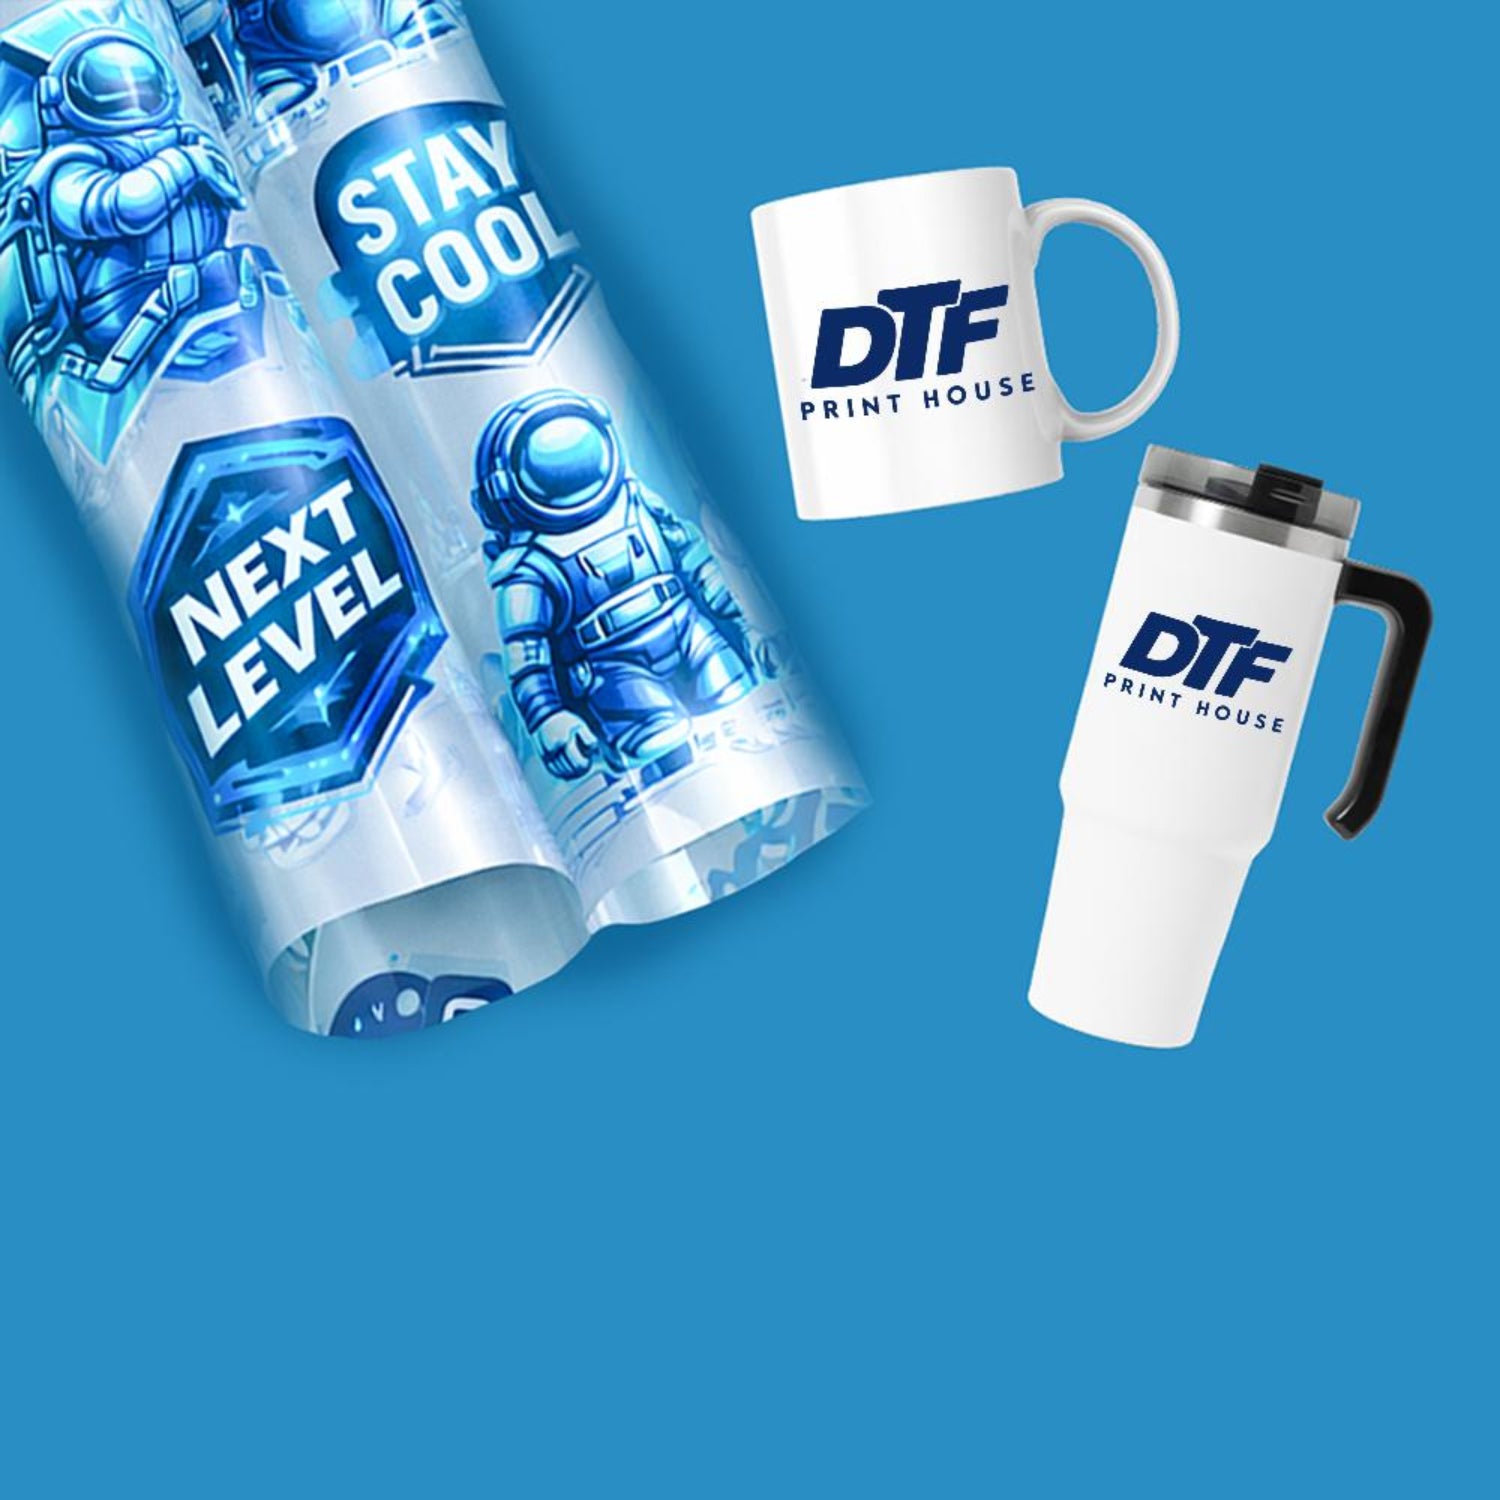
Mastering how to apply DTF transfers is the most critical step to achieving professional, durable apparel graphics for your growing business.
The right technique guarantees your customized shirts will withstand dozens of washes. Using premium DTF transfers ensures incredible clarity and exceptional vibrancy every single time.
Whether you work from home or manage a high-volume retail warehouse, proper pressing execution is absolutely paramount.
This comprehensive blueprint will walk you through every micro-step of the decoration lifecycle. We want to ensure your final products look completely flawless.
By refining your daily workshop production workflow, you eliminate expensive fabric mistakes entirely. Let us unlock the true potential of modern garment customization.
What You Need to Apply DTF
Before beginning your production run, gathering the appropriate tools ensures a seamless workflow. You will need high-quality films, a commercial pressing machine, and premium garments.
Using a professional machine allows you to successfully apply dtf designs with uniform pressure. Hand irons are highly discouraged for commercial garment decorating business purposes.
We highly suggest printing your logos on the best shirts for DTF to maximize your final retail product value.
High-quality blanks feature tighter textile weaves that accept the melted adhesive backing perfectly. This creates a much stronger structural bond over time.
In addition to the main machinery, keep protective sheets within arm's reach. Parchment paper or non-stick silicone sheets protect your heating element from stray ink spots.
A reliable laser thermometer is also highly recommended for checking thermal consistency across your plate. Regular calibration prevents under-curing disasters during busy shifts.
💡 Did you know? Direct to film graphics can be applied to diverse materials, including cotton, heavy polyester, and canvas bags, without any issues.
Step-by-Step DTF Application
Following a reliable dtf application guide minimizes expensive fabric mistakes and dramatically increases your overall daily workshop productivity.
First, preheat your fabric for five full seconds to effectively remove trapped ambient moisture and wrinkles. This process creates a perfectly smooth foundation for optimal adhesive bonding.
Next, carefully position your premium graphics on the garment surface. Always measure your margins to ensure perfectly centered alignment before closing the heating element.
Lock your press to begin the dtf step by step fusion process. Once finished, allow the film to reach the recommended peeling temperature completely.
Peel the carrying sheet away using a smooth, single motion. Finally, execute a brief second press to lock the ink directly into the textile fibers.
This secondary press cycle changes the texture from plastic-like to a soft matte finish. Customers prefer this high-end look and feel when buying custom merchandise.
Always let the garment rest flat for a minute immediately after the final press. This resting period allows the hot polymer glue to stabilize completely within the fabric structures.
Temperature and Pressure Settings
Achieving the correct settings on your machine is essential to permanently heat press dtf sheets without damaging sensitive fabrics.
For standard 100% cotton garments, configure your equipment to 300°F to 320°F. Apply heavy, firm pressure for exactly 12 to 15 seconds.
If you choose polyester blends, lower your temperature settings slightly to 280°F to prevent severe fabric scorching.
Pressure calibration requires close attention because a light setting prevents deep adhesive penetration. Your machine clamp should require noticeable effort to close down fully.
Varying fabric thicknesses demand different adjustments on your pressure knob. Sweaters require less height clearance than lightweight summer t-shirts do.
Always document your successful formulas in a workshop notebook for fast future reference. Consistency builds operational efficiency and predictable product outcomes across every single batch.
🔥 FeatureOur elite
custom DTF transfers utilize specialized backing films that distribute thermal energy uniformly during production cycles.
Hot Peel vs Cold Peel
Understanding film types is vital when studying how to apply dtf transfers properly. Different manufacturing formulas require distinct handling techniques.
Hot peel films allow you to remove the plastic lining immediately after opening your press machine. This accelerates high-volume custom production timelines significantly.
Cold peel sheets require the transfer to cool down to room temperature entirely before removal. Peeling a cold formula prematurely will ruin your print quality instantly.
When using cold peel variations, sliding an aluminum block over the warm plastic speeds up cooling. This simple trick shaves valuable seconds off your assembly line process.
Never rush a cold peel sheet because lifting the film too early tears delicate design edges. Patience during this phase saves you from discarding expensive apparel blanks.
Listen closely to the sound as you pull the backing away from the textile. A clean, quiet release tells you that the adhesive phase performed beautifully.
Common Mistakes to Avoid
Inadequate pressure is the leading cause of premature graphic peeling after typical residential laundry cycles. Always calibrate your machinery regularly.
For best results, review our detailed DTF care instructions. This guide covers proper laundering techniques to preserve image brightness over several months.
Lastly, never skip the critical second post-press. This final action guarantees a soft hand-feel that your retail customers will appreciate daily.
Another common pitfall is pressing over thick seams or bulky zippers without using foam pad elevators. Raised obstructions lift the upper plate, causing localized low-pressure zones.
Avoid stacking freshly pressed garments directly on top of each other while they are still scorching hot. Residual heat can occasionally cause prints to bind together accidentally.
Always store your unused transfer sheets inside airtight plastic containers when working in humid climates. Moisture absorption degrades the dry adhesive powder before production even begins.
FAQ
How to apply DTF transfers step by step?
Preheat your garment first. Position your design carefully, press for 15 seconds, let cool, peel, and press once more.
What temperature for DTF application?
Use 300°F to 320°F for standard cotton fabrics. Lower to 280°F for delicate polyester materials to avoid scorching.
Hot peel or cold peel?
It depends entirely on your specific film product specifications. Always follow your supplier guidance for perfect peeling results.
Why is my DTF not sticking?
This issue usually stems from inadequate machine pressure, low temperature settings, or hidden moisture trapped inside the fabric layers.