


I know it size I printed each thing, but I got them back super small. I just have not had a chance to call the shop and tell you all this is the second time it’s happening.
Unfortunately, I was disappointed with the quality of the print work. The final product was not well executed and appeared rushed. There were noticeable areas with extra white coloring and printing errors where the design should have been clean and consistent. The overall quality did not match my expectations, especially for a professional print service. Attention to detail and quality control definitely need improvement.
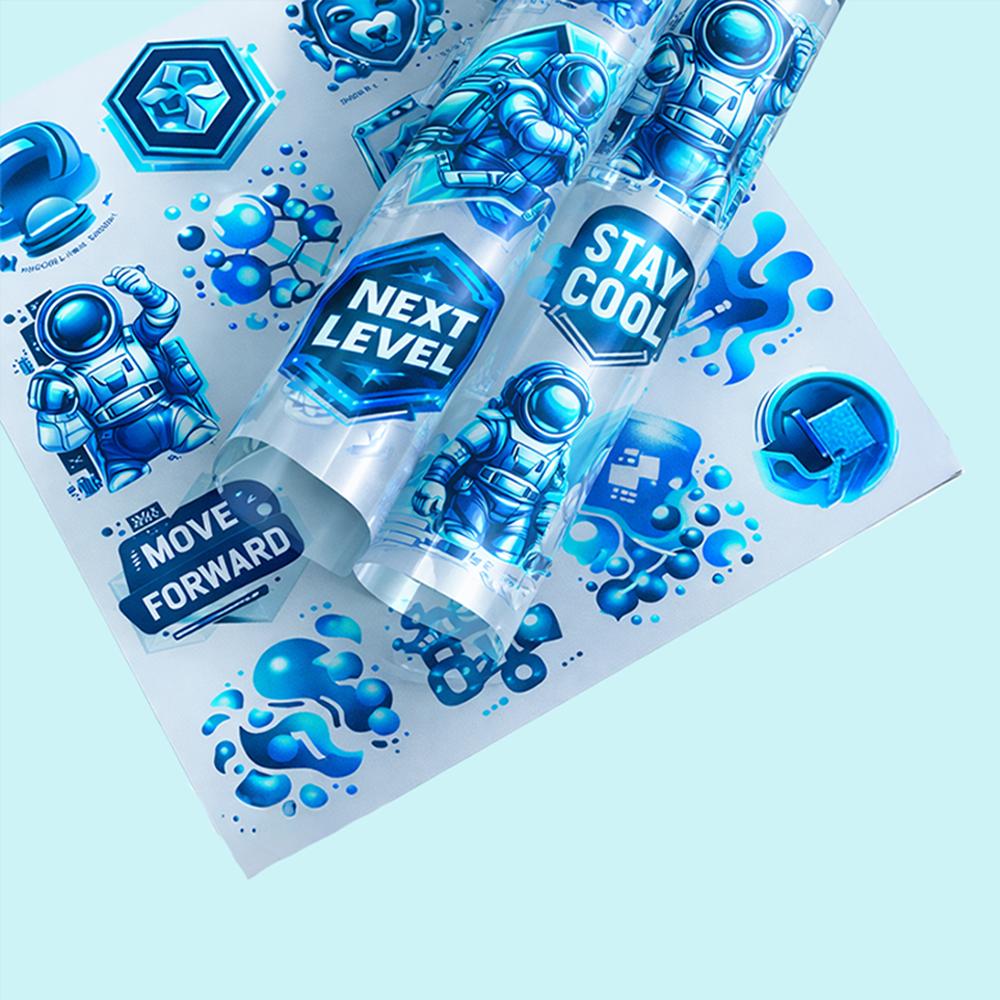
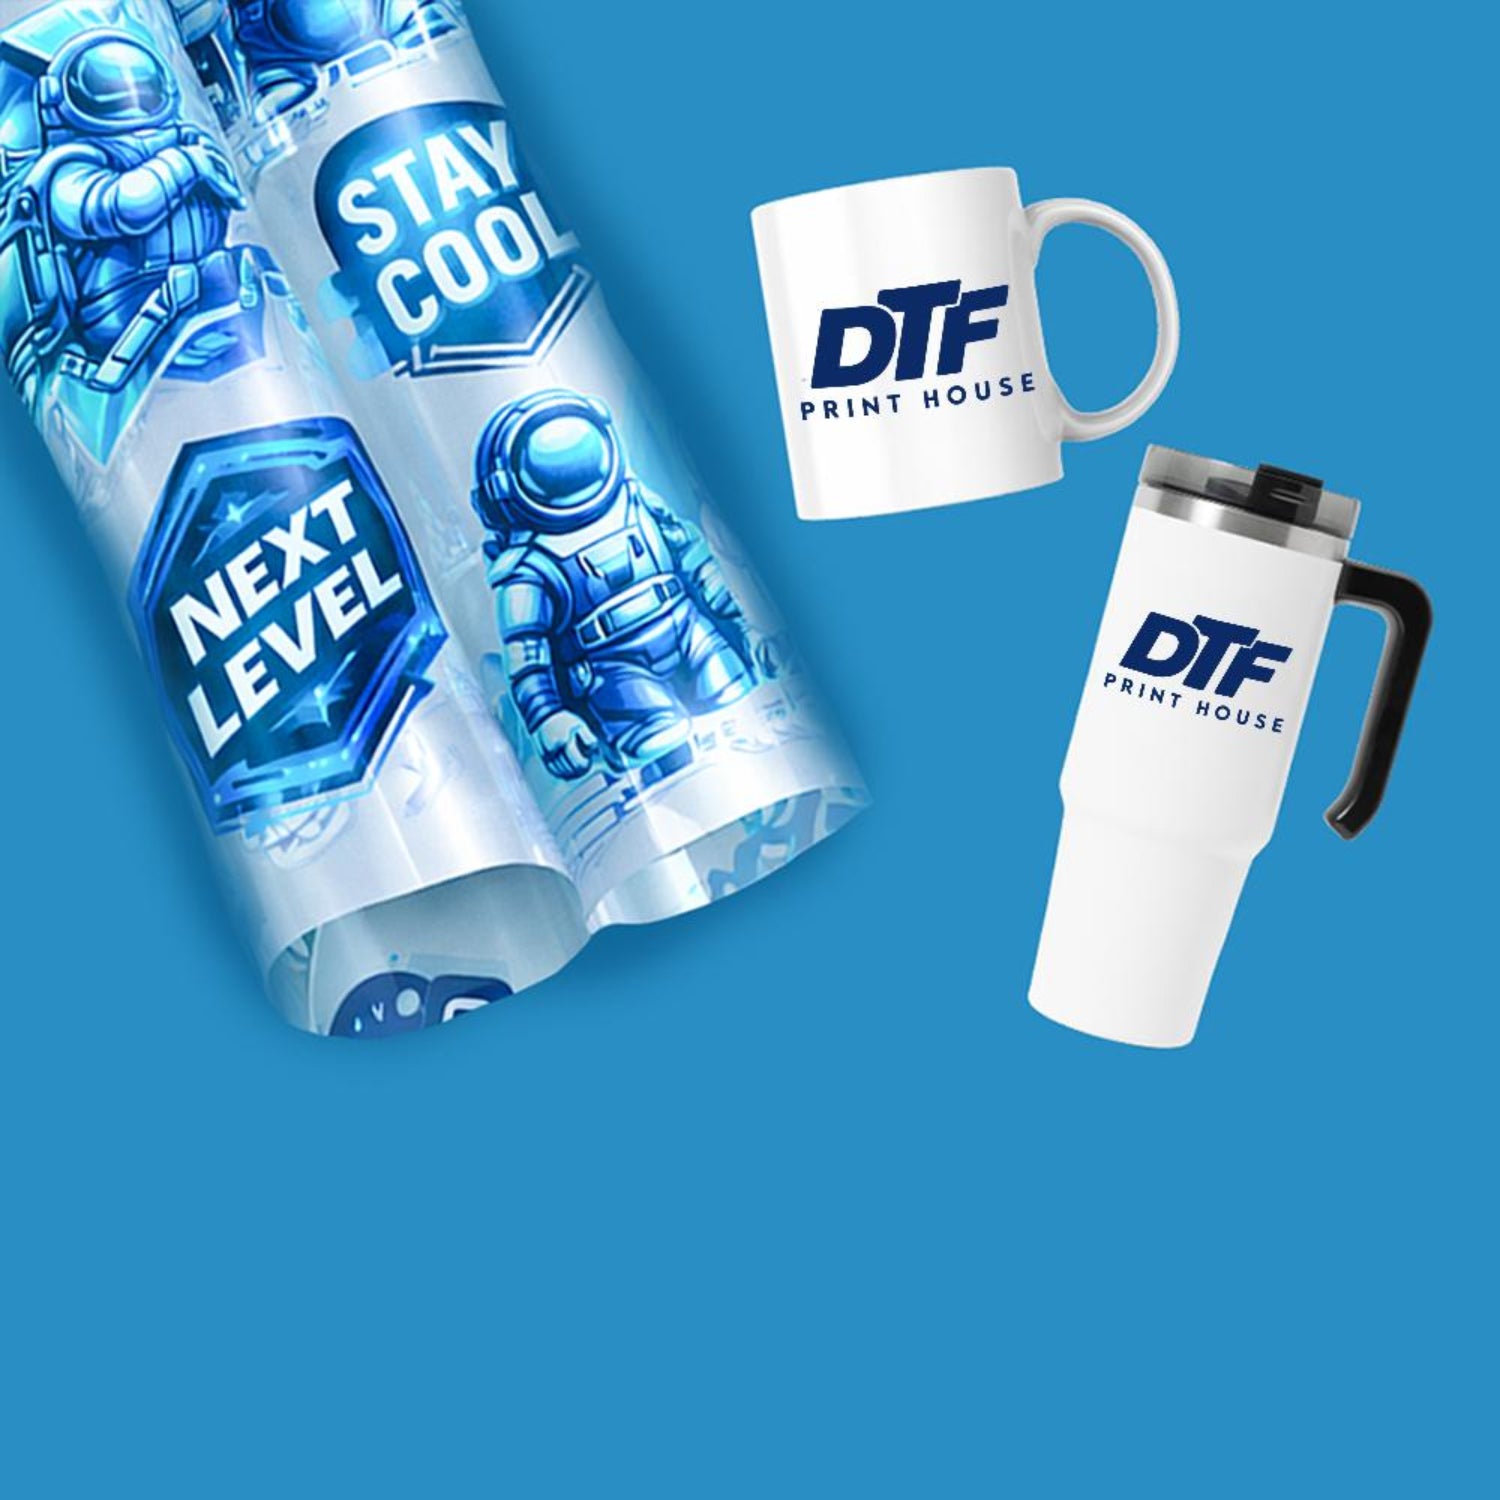
Beautiful designs, bright beautiful colors. I was jmpressed just wish they would have been a bit larger
Can’t wait to use them, but the quality looks great