How to Use DTF Transfer Film: Step-by-Step Guide for Beginners and Pros
You have the artwork. You have the garment. You may even have a heat press ready to go. The next question is simple: how to use DTF transfer film correctly so you get a professional, durable print instead of a failed transfer.
Direct-to-Film (DTF) printing has become one of the fastest-growing decoration methods in the apparel industry because it works on cotton, polyester, blends, and dark garments without many of the limitations associated with screen printing or sublimation. Whether you're a hobbyist, a small apparel brand, or a print shop owner evaluating new production methods, understanding the DTF transfer film process is essential.
In this guide, you'll learn exactly how DTF film works, how to print and apply transfers, common mistakes to avoid, and when it makes more sense to outsource production instead of operating your own DTF printer setup. By the end, you'll understand the complete workflow from design preparation to the final peel.

What Is DTF Transfer Film?
Before learning how to use DTF transfer film, it's important to understand what the film actually does.
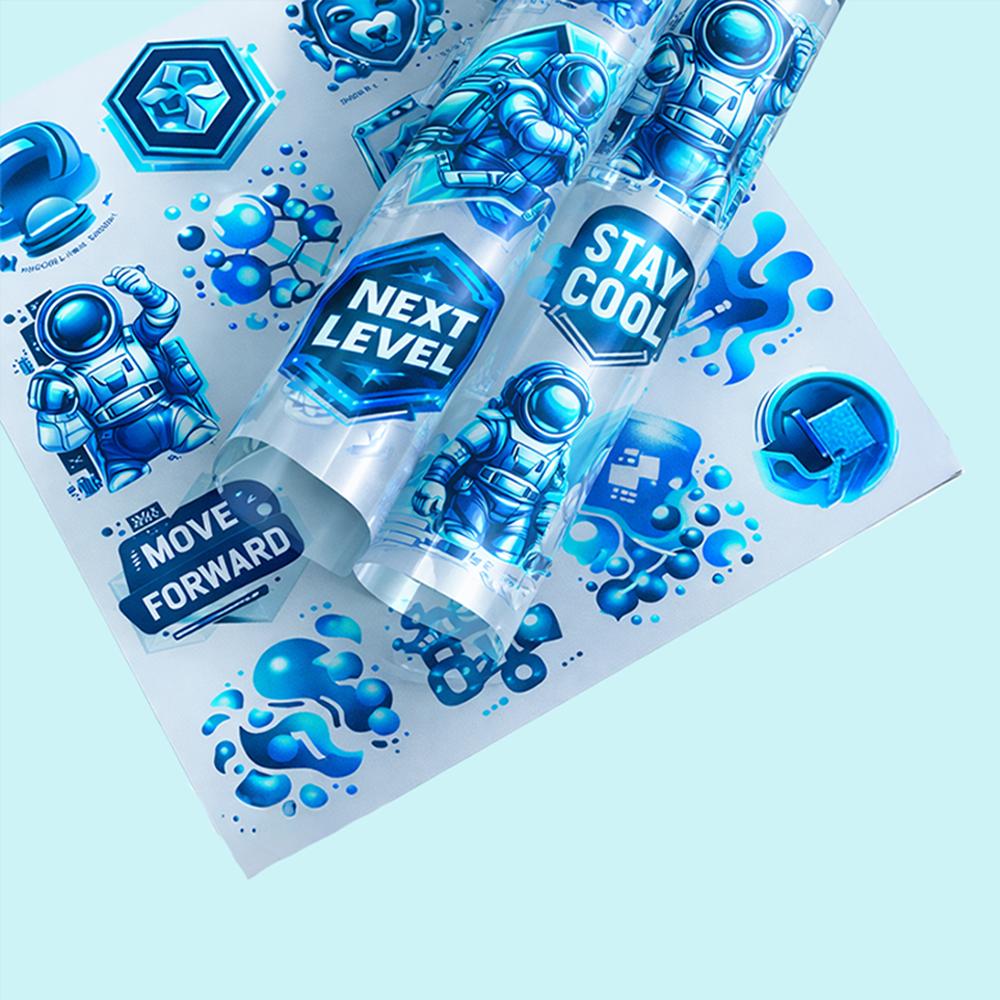
DTF transfer film, often referred to as PET film, transfer film, or carrier film, is a specially coated sheet designed to temporarily hold a printed image before it is transferred onto fabric using heat and pressure.
The film serves as the foundation of the Direct-to-Film printing process. Instead of printing directly onto a garment, the design is printed onto the coated film first. The printed image is then covered with hot-melt adhesive powder, cured, and transferred onto fabric using a heat press.
DTF film has two sides:
-
Matte side – the coated printable surface.
- Glossy side – the carrier backing that does not receive ink.
Understanding which side to print on is critical because printing on the wrong side is one of the most common beginner mistakes.
The purpose of the film is temporary. After heat pressing, the film is peeled away and discarded. The printed design remains permanently bonded to the fabric through the adhesive layer created during the curing process.
One reason DTF has become so popular is its versatility. Unlike sublimation printing, which works primarily on polyester garments, DTF transfers can be applied to:
- 100% cotton
- 100% polyester
- Cotton/polyester blends
- Performance fabrics
- Dark garments
- Light garments
- Tote bags and other textile products
The process uses CMYK colors combined with a white ink underbase, allowing designs to remain vibrant even on black or dark-colored fabrics.
If you're completely new to the technology, our guide on what is DTF transfer provides a more detailed introduction to the printing method itself.
Businesses that prefer not to operate their own printing equipment can also browse our collection of all DTF transfers for ready-to-press solutions.

What You Need Before You Start
If you're researching dtf transfer film how to use, having the proper equipment is the first requirement.
The complete DTF transfer film process requires several specialized components working together.
Required Equipment and Supplies
- DTF-capable printer or converted Epson printer
- DTF transfer film
- CMYK + white DTF inks
- RIP software
- Hot-melt adhesive powder
- Shaker oven or curing oven
- Heat gun (optional for small-scale curing)
- Heat press (clamshell or platen press)
- Transparent PNG artwork
- 300 DPI design files
The printer deposits CMYK colors onto the film and then prints a white ink underbase. The RIP software manages white ink placement, print order, color profiles, and image processing.
The adhesive powder acts as the bonding agent that permanently attaches the design to fabric during pressing.
A dedicated heat press is strongly recommended because it provides consistent temperature, pressure, and dwell time. While some users experiment with household irons, professional-quality results are much harder to achieve.
Don't have a DTF printer? You can skip printing, powdering, and curing entirely by ordering professionally printed transfers. Jump to the ordering section below to learn more.
How to Use DTF Transfer Film: Step-by-Step Instructions
This section provides the complete DTF transfer film process from artwork preparation through final application. If you've ever asked how to print DTF or how to do DTF transfer printing successfully, these are the exact steps to follow.
Step 1: Prepare Your Design File
Every successful transfer starts with a high-quality artwork file.
Your design should be created at a minimum resolution of 300 DPI and saved as a transparent PNG file. Low-resolution artwork often produces blurry edges, poor detail reproduction, and disappointing final results.
Most RIP software automatically mirrors designs during processing. If your software does not handle mirroring, manually flip the artwork before printing.
Maintain safe margins around the design and avoid placing important elements too close to the edge of the printable area.
Professional artwork preparation helps prevent costly production errors later in the workflow.
Step 2: Load the Film Correctly
The second step is surprisingly simple but causes countless failed transfers.
The matte coated side of the film must face the print head. The glossy side should remain away from the print head.
Many first-time users accidentally load the film backward. When this happens, the ink cannot properly bond to the coating and often smears, beads up, or wipes away completely.
If you're unsure which side is printable, lightly touch both sides. The printable side usually feels slightly textured or matte compared to the slick glossy carrier side.
This single step eliminates one of the most common DTF printing mistakes.
Step 3: Print the Design
This is where the actual printing begins.
The DTF printer first lays down the color layer using CMYK inks. After the color layer is printed, a white ink layer is applied over the design.
The white underbase is one of the key differences between DTF and traditional printing methods. It allows vibrant colors to remain visible on dark fabrics and ensures consistent color reproduction across different garment types.
Most production environments use RIP software to manage:
- White ink generation
- Color management
- Print resolution
- Ink density
- Print sequencing
Proper RIP settings are essential because incorrect white ink coverage can lead to poor opacity, dull colors, or weak transfer adhesion.
Once the print finishes, immediately proceed to the next step before the ink begins to dry.
Step 4: Apply Adhesive Powder While the Ink Is Wet
The adhesive powder stage is what transforms a printed image into a transferable graphic.
Immediately after printing, cover the design with an even layer of hot-melt adhesive powder.
The powder should fully coat every printed area while the ink remains wet. After coating the design, gently shake the film to remove excess powder.
Only the printed areas should retain powder.
This step is critical because the powder ultimately becomes the glue that bonds the design to the fabric during heat pressing.
If you wait too long, the ink may begin to skin over, preventing proper powder adhesion.

Common Mistake:
Applying powder several minutes after printing often results in weak adhesion and incomplete transfers. Powder should always be applied immediately after the print exits the printer.
Step 5: Cure the Film
Once the powder has been applied, it must be cured.
Commercial production facilities typically use a shaker oven or curing oven. Smaller operations may use a heat gun for limited production runs.
The goal is simple: melt the adhesive powder until it becomes transparent and slightly glossy.
The powder should melt smoothly without bubbling, smoking, or burning.
Over-curing can reduce adhesion quality and negatively impact durability.
When cured correctly, transfers can often be stored for weeks before being applied to garments.
Prefer to skip the powdering and curing process entirely? You can order custom DTF transfers by size and receive production-ready transfers without investing in specialized equipment.
Common Mistakes to Avoid
- Loading film upside down
- Waiting too long before applying powder
- Using too much adhesive powder
- Over-curing the powder
- Incorrect heat press temperatures
- Peeling at the wrong angle
For additional troubleshooting help, review our guide covering common DTF printing mistakes.
You can also learn more about proper application techniques in our tutorial on how to apply DTF transfers like a pro.
Step 6: Heat Press the Transfer onto the Garment
After the transfer has been cured, it's ready for application.
Before placing the transfer, pre-press the garment for 3–5 seconds. This removes moisture, flattens wrinkles, and creates a more consistent pressing surface.
Position the transfer on the garment with the printed side facing the fabric and the film facing upward.
For most cotton garments, start with the following settings:
- Temperature: 320–330°F (160–165°C)
- Time: 15 seconds
- Pressure: Medium-firm
The combination of heat and pressure activates the adhesive layer and permanently bonds the transfer to the garment.
Consistent pressure is just as important as temperature. Uneven pressure often causes partial lifting, poor adhesion, or edges that peel after washing.

Step 7: Peel the Film
The peeling stage is where many first-time users damage otherwise perfect transfers.
The correct peeling method depends on whether the transfer film is designed for hot peel or cold peel use.
Some films are removed immediately after pressing, while others must cool completely before the carrier film is removed.
Always check the manufacturer's specifications before production.
When peeling, pull slowly at a low angle rather than lifting straight upward. A slow peel reduces stress on the transfer and improves consistency.
Step 8: Perform a Final Press
Although optional, a second press is highly recommended.
After removing the film, place parchment paper or a Teflon sheet over the design and press again for 5–10 seconds.
This finishing step helps:
- Improve long-term adhesion
- Reduce surface texture
- Increase durability
- Create a smoother professional finish
The result is a cleaner-looking transfer with improved wash performance.
Hot Peel vs. Cold Peel DTF Film — What's the Difference?
One of the most common questions from beginners is whether hot peel or cold peel film is better.
The answer depends on the workflow you prefer and the finish you want to achieve.
Hot Peel Film
Hot peel film is removed shortly after pressing, usually within 5–10 seconds.
Advantages include:
- Faster production speed
- Higher output for busy shops
- Less waiting between garments
Many commercial production environments prefer hot peel film because it improves workflow efficiency.
Cold Peel Film
Cold peel film must cool completely before the carrier sheet is removed.
Advantages include:
- Softer hand feel
- More matte appearance
- Excellent fine-detail retention
Cold peel films are often preferred for premium retail apparel and highly detailed graphics.
Neither option is universally better. Different manufacturers formulate films differently, and results can vary depending on equipment, fabrics, and production conditions.
For a complete comparison, see our guide on cold peel vs. hot peel DTF film.
Heat Press Settings for DTF Transfers
Correct heat press settings are one of the biggest factors affecting transfer quality.
While every transfer manufacturer may recommend slightly different settings, the following chart provides reliable starting points for most applications.
| Fabric Type |
Temperature |
Time |
Pressure |
| 100% Cotton |
320°F (160°C) |
15 sec |
Medium-Firm |
| 100% Polyester |
270–300°F (132–149°C) |
12–15 sec |
Medium |
| Cotton/Poly Blend |
300–315°F (149–157°C) |
15 sec |
Medium-Firm |
| Nylon / Performance Fabrics |
270°F (132°C) |
10–12 sec |
Light-Medium |
These settings should be treated as baseline recommendations rather than universal rules.
Different transfer films, adhesives, and garment manufacturers may require slight adjustments.
Polyester garments require extra care because excessive heat can scorch, discolor, or create dye migration issues.
Always perform a test press before beginning a large production run.
For a deeper breakdown, review our guide on heat press settings for different fabrics.
If you're looking for garments to decorate, browse our collection of blank apparel to press on.
How Long Do DTF Transfers Last?
One of the biggest advantages of Direct-to-Film printing is excellent DTF transfer durability.
When high-quality film, inks, adhesive powder, and proper application techniques are used, DTF transfers can typically withstand 50 or more wash cycles before significant fading occurs.
Premium production environments often report durability in the 60–80 wash range.
The longevity of a transfer depends on several factors:
- Transfer film quality
- Ink quality
- Adhesive powder quality
- Correct curing temperatures
- Proper heat press settings
- Garment care habits
To maximize lifespan:
- Turn garments inside out before washing
- Wash with cold water
- Use gentle wash cycles
- Avoid bleach and harsh chemicals
- Reduce exposure to high dryer temperatures
For additional durability testing and wash performance data, see our guides on how long DTF transfers last and our DTF wash durability guide.
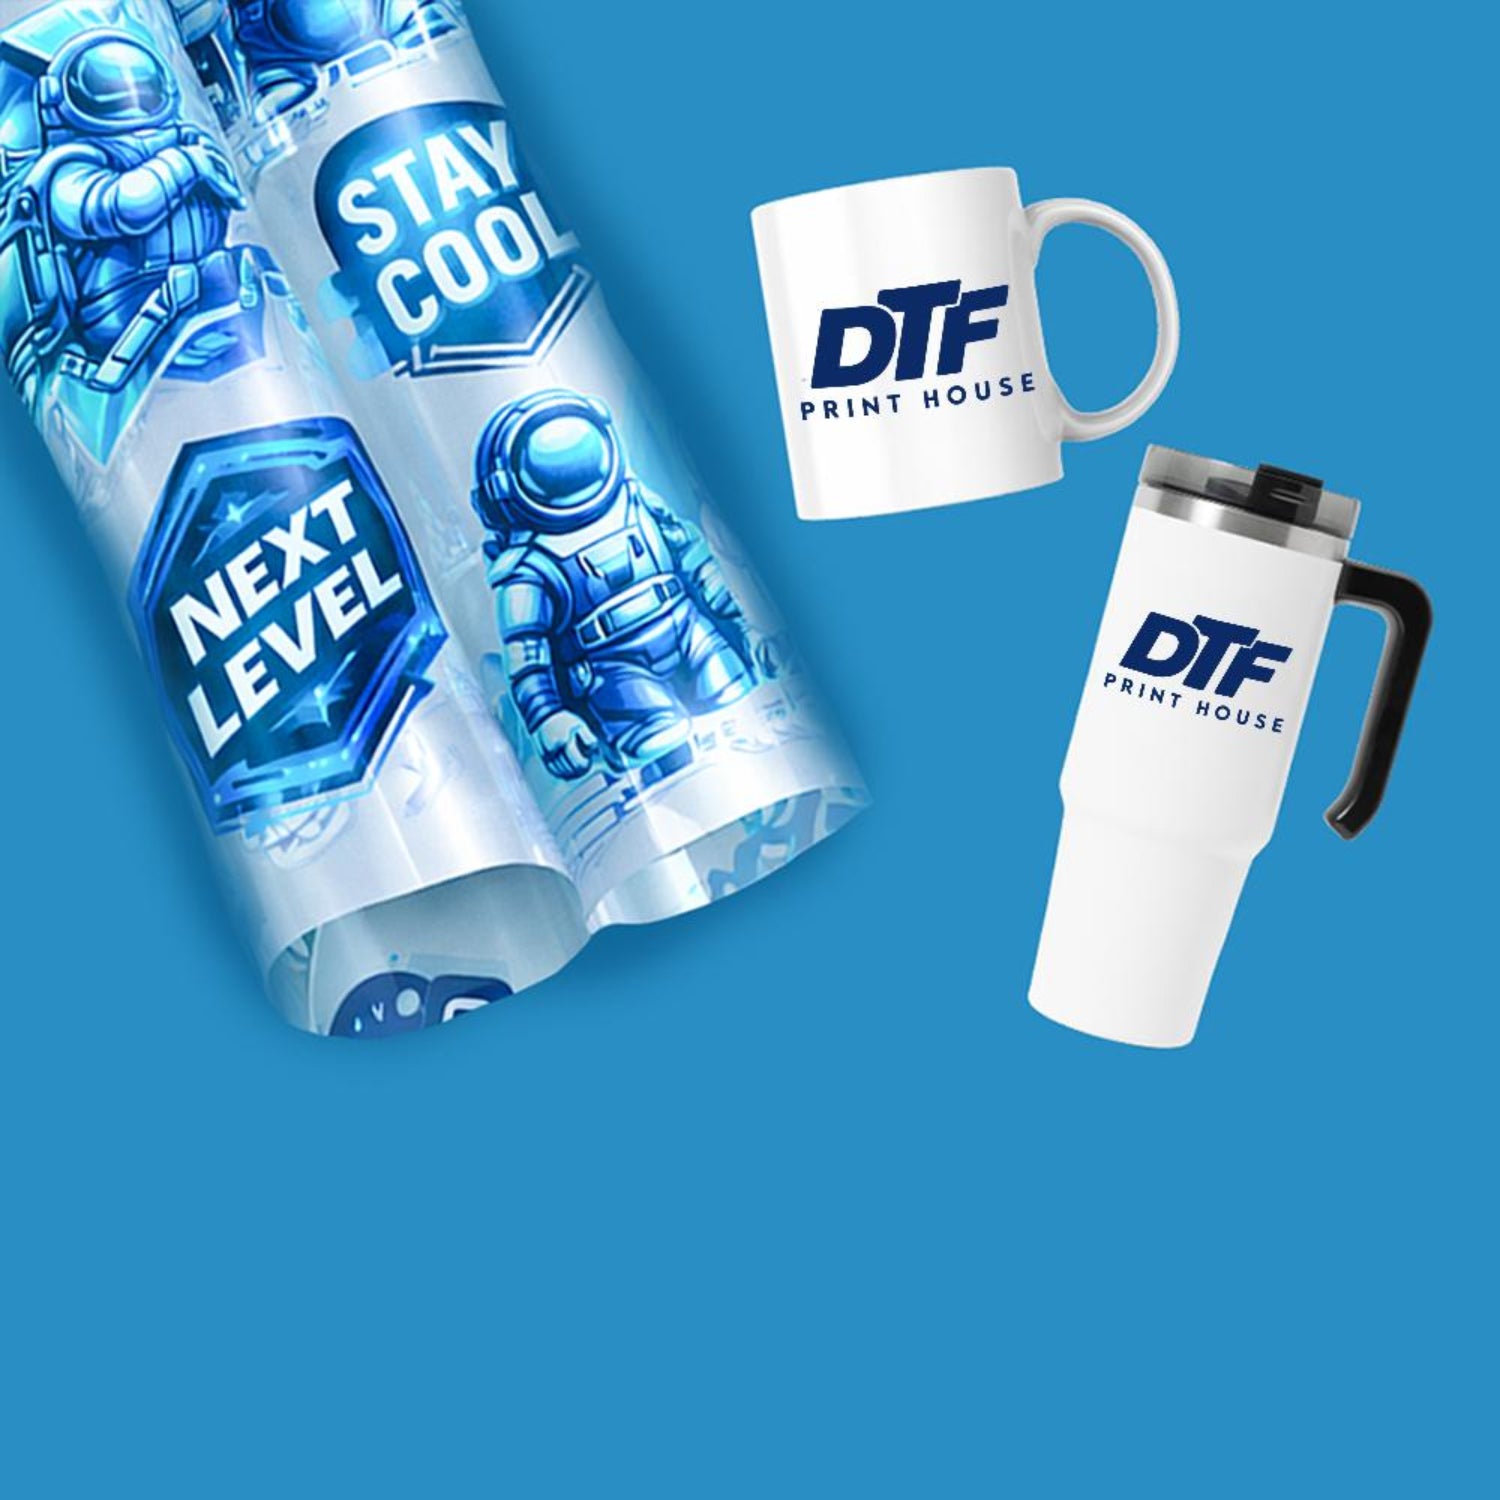
Skip the Film — Order Ready-to-Press DTF Transfers
Learning how to use DTF transfer film is valuable. However, not every business needs to own a DTF printer.
A complete production setup often requires a printer, RIP software, white ink management system, curing equipment, adhesive powder handling, maintenance supplies, and ongoing technical knowledge.
For many businesses, outsourcing production is the more profitable option.
Ordering transfers often makes more sense if:
- You don't want to invest $2,000–$5,000+ in equipment
- You need professional-quality results immediately
- You run an Etsy store or apparel brand
- You create custom event apparel
- You want to focus on selling instead of printing
At DTF Print House, the process is simple.
- Upload your artwork.
- Select your transfer size.
- Receive professionally printed transfers.
- Heat press and peel.
You completely eliminate printing, powdering, curing, and equipment maintenance.
Key advantages include:
- No minimum order requirements
- Same-day production for qualifying orders placed before 12 PM CT
- Free shipping on orders $99+
- US-based production
Ready to start?
Order custom DTF transfers by size and receive production-ready transfers shipped directly to your door.
If you have multiple designs, you can create your DTF gang sheet to maximize sheet space and reduce costs.
Already have artwork prepared? Simply upload your gang sheet file and place your order.
Need help optimizing layouts? Review our guide on how to make a DTF gang sheet.
Many growing brands also combine transfers with our custom t-shirts for complete apparel production solutions.
FAQ
What side of DTF film do you print on?
You print on the matte coated side of the film. The glossy side serves as the carrier backing and should not receive ink. Printing on the wrong side is one of the most common causes of failed transfers.
How do you use DTF transfer film without a DTF printer?
You cannot print directly onto DTF film without a DTF-capable printer, DTF inks, and RIP software. However, you can purchase pre-printed transfers and apply them with only a heat press.
How do I know if my DTF film is hot peel or cold peel?
Check the product specifications provided by the film manufacturer. If instructions are unavailable, perform a test press on a scrap garment before beginning production.
Can you use DTF transfers on 100% polyester?
Yes. DTF transfers work exceptionally well on polyester garments. Lower temperatures between 270°F and 300°F are typically recommended to reduce the risk of scorching or dye migration.
How do I store unused DTF transfer film?
Store film in a cool, dry environment away from direct sunlight and excessive humidity. Rolls should remain in their original packaging until they are ready to be used.
What's the difference between DTF film and sublimation paper?
Sublimation transfers dye polyester fibers and require polyester-compatible substrates. DTF transfers use adhesive powder to bond a printed layer onto the fabric surface, allowing them to work on cotton, polyester, blends, and many other textiles.
Ready to Press?
DTF transfer film gives apparel decorators the ability to create vibrant, durable graphics on almost any fabric type. The process is flexible and powerful, but it also requires specialized equipment, ongoing maintenance, and a learning curve.
For many businesses, ordering professionally produced transfers is the fastest path to consistent results.

Ready to press? Order ready-to-press DTF transfers with no minimums.
Order Ready-to-Press DTF Transfers — No Minimums
Questions about artwork, gang sheets, or transfer sizing? Contact us for help with your order.
Related Reading